itsawindupuk
|
| posted on 26/12/14 at 12:24 PM |

|
|
New Duratec build
Hi everyone, im going to be building my new duratec engine for my 1968 MGB soon and thought I would put posts up on here as I progress. The spec for
the engine is as follows:
Ported cylinder head (low port sadly)
Kent Cams valve springs
Kent Cams D-TEC35 Camshafts and verniers
Cosworth forged pistons
K1 Technologies forged rods
ARP head studs
ARP main studs
ARP crank pulley bolt
Turbosport.net steel flywheel
Saab 95 turbo clutch cover (flywheel already drilled to suit)
Raceline 48mm DTH throttle bodies (need to get these still).
ACL Tri-metal rod bearings
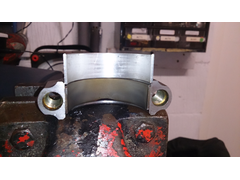
I got my forged rods on xmas eve and thought to inspect the rod bearings and check fitment. Looking at the photo you can see the ACL bearings are
slightly smaller width and also both the ford and acl bearings are smaller width than the rods big end machined surface. There are no locating tabs
with these so how do people go about making sure that they are lined up correctly? Is there a set procedure for fitting them? And should it matter
that the ACL bearing surface is slightly smaller?
Sorry for these weird questions but I want to get this build right first time.
[img]
Bearing difference
[/img]
|
|
|
|
|
davidimurray
|
| posted on 26/12/14 at 11:07 PM |

|
|
Have you got the Ford and Cosworth build manuals? If not drop me your email address and I will send over. They simply say to measure the bearings with
a vernier and set them in the centre.
Gallery 1 http://www.facebook.com/media/set/?set=a.116893465324.130778.601005324
Gallery 2 http://www.facebook.com/media/set/?set=a.245243755324.181913.601005324&l=a9831a9319
Gallery 3 http://www.facebook.com/media/set/?set=a.440671625324.232627.601005324&l=3f0d42c523
Gallery 4 http://www.facebook.com/media/set/?set=a.490098255324.297598.601005324&l=efb083b7df
Gallery 5 http://www.facebook.com/media/set/?set=a.10150244028550325.366987.601005324&l=583fd5cd3a
Gallery 6 http://www.facebook.com/media/set/?set=a.10150550640070325.430417.601005324&type=3&l=fe779b358c
Duratec Engine Swap https://www.facebook.com/media/set/?set=a.10152527759580325.1073741828.601005324&type=1&l=40aae5e72f " target="_blank"> https://www.facebook.com/media/set/?set=a.10152527759580325.1073741828.601005324&type=1&l=40aae5e72f
|
|
|
itsawindupuk
|
| posted on 27/12/14 at 12:14 AM |

|
|
Thanks for the reply. I do have them yes so I'll take a closer look. The K1 rods came with basic instructions saying not to use plasigauge.
|
|
|
itsawindupuk
|
| posted on 17/1/15 at 10:22 PM |

|
|
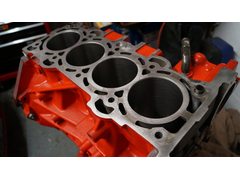
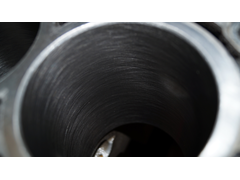
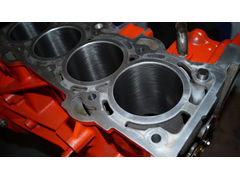
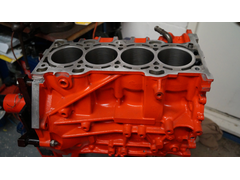
Ok, so I got the engine block back from the engine builders (Connaught Competition Engines) and was really pleased with their work. They also balanced
the crank, flywheel and clutch cover as well as the pistons and rods.
Description
Description
Description
Description
|
|
|
itsawindupuk
|
| posted on 17/1/15 at 10:31 PM |

|
|
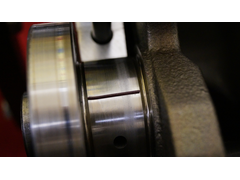
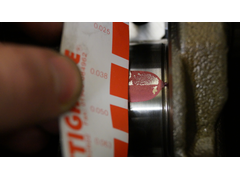
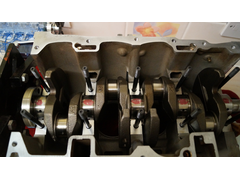
With the crank I decided to check the bearing clearances with plastigauge. Im using cosworth main bearings and ARP main studs. The first time I tried
plastigauge I ended up at about 0.050mm across the 5 bearings which is a bit out (meant to be 0.019 to 0.035). Turned out I didn't torque the
nuts correctly AND my garage is 3 degrees celcius, so the wax of the plastigauge didn't spread very well, in fact it kind of cracked mostly. So
second time with a warmer room, tighter torque setting (burton says 70lbs/ft as I didn't use the ARP lube) and I got a better result.
Description
Description
Description
A little on the high end of tolerance but should be ok.
Next on list is the pistons, rods which ill be doing next week.
|
|
|
itsawindupuk
|
| posted on 23/1/15 at 08:28 AM |

|
|
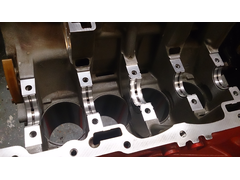
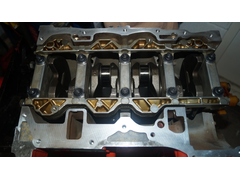
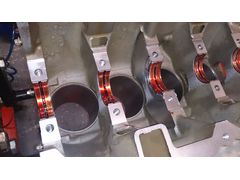
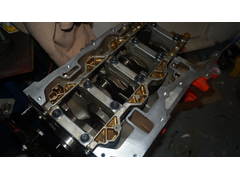
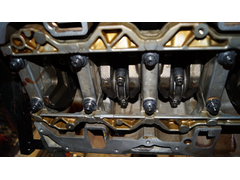
So today I decided to finish the block off. First thing was to finish the crankshaft and torque it down properly with the ArP studs and nuts. It took
ages getting the bearings in the right locations, with the oil hole correctly lined up with the crank oil galley. Once torqued down I turned the crank
by hand and it felt pretty smooth.
[img]
Description
[/img]
Description
Description
Description
|
|
|
itsawindupuk
|
| posted on 23/1/15 at 09:14 AM |

|
|
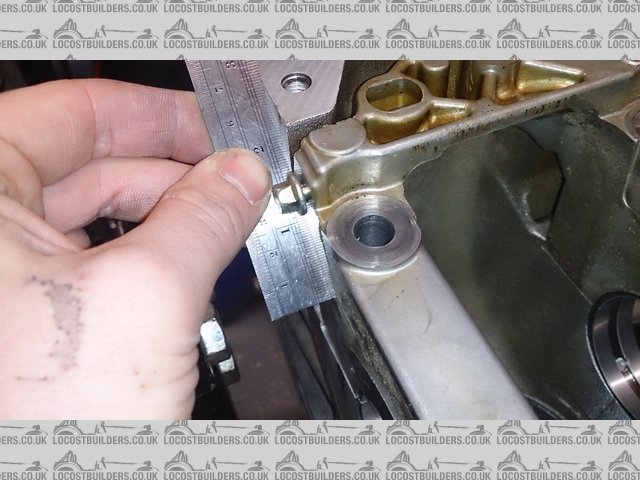
Also worth noting is the crank cradle needs to be perfectly aligned with the block, I planned on making a tool but the surface of the cradle was awash
with casting lumps so I used a rule on the small section that was actually machined.
Description
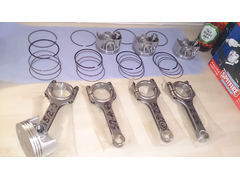
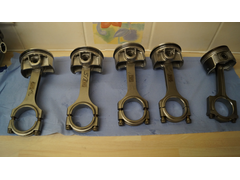
Next came the forged rods and pistons. I used cosworth pistons and K1 rods. The quality are outstanding!! Although it was a real pig getting the
gudgeon pin retainers in. Took a lot longer and more effort than expected. Connaught Competition Engines also balanced the pistons and rods as well as
the crank, flywheel and clutch cover.
Description
Description
Then I installed them into the newly honed block. Connaught Competition Engines did the honing and they also gapped my rings too!
 
Description
 
Description
 
Description
I used plastigauge to check all my clearances and they all came within spec albeit on the higher side of the scale. But they were all even and
everything felt good.
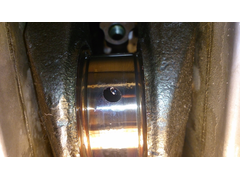
Then I realised I hadn't put the ARP lubricant on one of the rods so I removed it and im glad I did. The oil journal in the crank had a raised
lip and was scoring the bearing! Thankfully I spotted it before much damage was done. So I removed all the others and I could feel a lip on all of
them with my fingernail. You can see in the following photo that there is a piece of the bearing material shaved into the oil way.
Description
I was rather pissed off, and confused as this was a crank that I removed myself and the bearings that is was then using were fine. Very odd. In the
end I used a very fine small piece of wet and dry to just remove the lips of the holes. Hopefully it'll be ok now. It all turns over nicely
Description
Next on the list is the cylinder head and the oil pump. Ill do the oil pump next and the head in a weeks time as I have ran out of money!
|
|
|
flak monkey
|
| posted on 23/1/15 at 11:00 AM |

|
|
Those oil passages want a damn good chamfer around them  If it's not too late I'd take the crank out and carefully cut a 0.5 to 1mm
chamfer on them all either with a dremel (be v. careful!) or a needle file. They don't need to be that neat, but break that sharp edge smoothly.
Sharp edges on oil passages are a great crack propagation point on a crank... If it's not too late I'd take the crank out and carefully cut a 0.5 to 1mm
chamfer on them all either with a dremel (be v. careful!) or a needle file. They don't need to be that neat, but break that sharp edge smoothly.
Sharp edges on oil passages are a great crack propagation point on a crank...
Sera
http://www.motosera.com
|
|
|
itsawindupuk
|
| posted on 23/1/15 at 03:35 PM |

|
|
Yeah I used my cheapo dremel and made a little chamfer. Fingers crossed it's Ok.
|
|
|


