Any help would be good as it is driving me nuts (or is that what the man said when he went to the doctors to have a steering wheel removed from his trousers)

beer time now

I'm pretty sure the front lower wishbones are not handed but what about the top front wishbones? there is an offset between the two arms and the
camber adjuster. If I try it one way round the rose joint is in front of the lower ball joint the other way it is behind. I have tried both wishbones
both ways and still have the same result so which is right.
Any help would be good as it is driving me nuts (or is that what the man said when he went to the doctors to have a steering wheel removed from his
trousers) 
beer time now
I too pondered this so emailed Marc. His reply was that the offset was to the rear. If you look in my photo archive the pic labeled-front OS is the
correct way.
Hope this helps.
Steve
Stuart If i have read your question right the answer is :-
The top wishbone to use is the one that makes the upright lean back ( the top is behind the bottom )
Either can be user either side just rotate so its behind the rosejoint on the lower.
Clear as mud eh !
Regards
Agriv8
thanks for the replies, that's now cleared that up.
gr8ging, looking at your picture the top wishbone is not pushed onto the Raceleda upright was it a very tight fit as mine is, if so how did you
overcome it. My wishbones are very tight also and one side lower front wishbone doesn't line up with the mounts. I am going to take the body off
and have a look as it will be a lot easier. were yours the same?
Doh! ive only just finished building my front end this week, and ive put the top ones in the other way round. i too was unsure, as one way had lots of
castor with the upright leaning backwards, where the other way round the hub looked to be vertical, so i built it up that way  looks like ill have
to pulll it apart now... i just got it onto its wheels last night too:
DaveyD were your top wishbones tight onto the raceleda uprights?
over the threaded part they wasnt, but i couldnt push them all the way down, i had to pull them down by tightening up the nut at the top. The main
problem i had was with my wilwood calipers..... i had to grind some of the adapter bracket down so that they would fit the raceleda uprights.
edit to say something else i have noticed is i think the steering rack extensions are too long, as they are screwed all the way on, as are the end
ball joints, and ive got quite a bit of Toe out  so much so that when im rolling the car in, and out of the garage you can hear the tyres
scrubbing, and skipping
[Edited on 6/1/08 by Davey D]
what length are your rack extensions Davey?
i'll have a measure of mine later
I've got the same problem Davey - definately too long.
Stuart_g
Yes very tight as you say. Haven't actually fitted them, just seeing where it all goes. They are as slack as a wizards shirt sleeve in the lower
bones, supposed to have some collets in the kit but I can't find any.
quote:
Originally posted by Johneturbo
...i'll have a measure of mine later
 ill measure up when i get home, and let you all know.

Davey is the clutch cable an mnr one?
i thought mine was going to be way to long, as when it was attached to the pedal it would reach out the front of the chassis, but once it goes around
the engine and attaches i found it was the right lenth, same with the throttle cable to. 
i don't have a column shift so not sure about that.
good luck with the start up. i think the mnr exhaust sounds
Hi Chaps,
Clutch is a long one as the return spring struggles with the friction if you place any tight radiuses on the cable so ths nice and long for that
reason.
It also gives a better pedal feel IIRC.
HTH Agriv8
ive measured the extensions, and they are 115mm (excluding the threaded bit that goes into the balljoint)
Guys - I saw someone with their clutch done like mine (either at a show or in a dream) and am very happy with the solution. Even Steve (Worx)
doesn't deny that I had one good idea:
thats how i thought they should go, and how i wanted to do mine, but my cable is loads longer
I bought my cable from speedycables rather than MNR - I always had in mind what I wanted to do. It also means that I've got an adjustable clevis at each end for fine tuning.
ok then.. so how have the rest of you MNR builders done your clutch compared to this?
Davey,
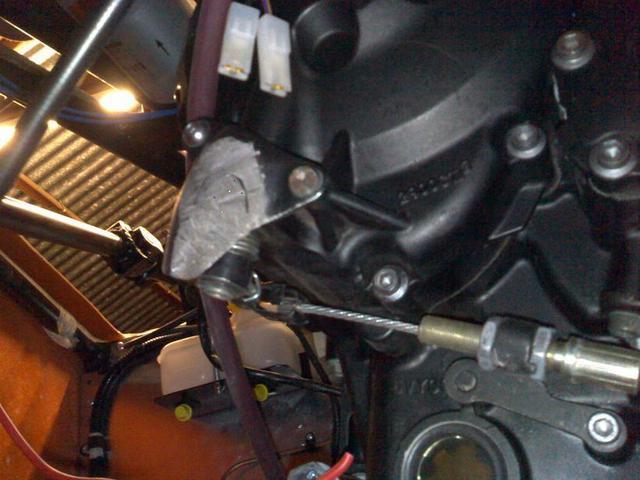
here's a pic of mine, it's just attached how the bike cable was originally


Rescued attachment clutch cable.jpg
.


Rescued attachment clutch cable2.jpg
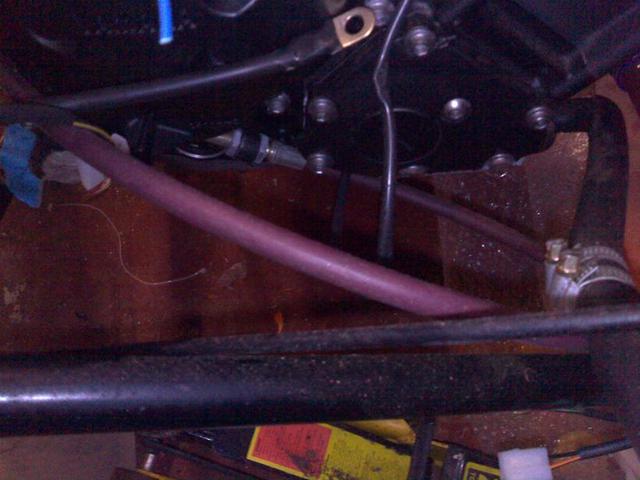
You can just work out how I did mine in this picture.

I don't seem to have a better picture for some reason and I'm too lazy to go outside and take one now 
The cable is in a nice straight line pulling the clutch lever towards the driver when the pedal is depressed. I have a fantastic pedal feel, stalling
is not an issue at all.