maccmike
|
| posted on 1/1/15 at 08:25 PM |

|
|
Locost Binky
Classic Mini on a MK1 MX5 chassis.
Bought a clean rust free Eunos.
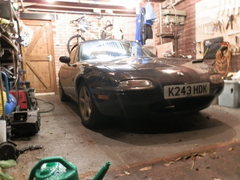 
Description
Lifted body off.
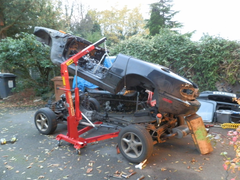 
Description
Cut sills and chassis legs off.
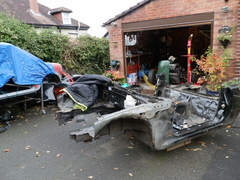 
Description
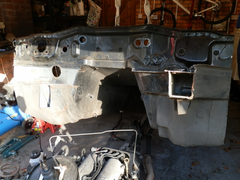 
Description
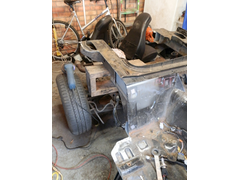 
Description
Bought 95% rust free but with some bad welding Mini shell.
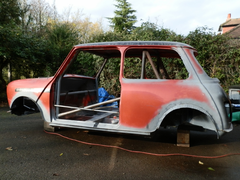 
Description
Front and rear bulkheads and floor gone.
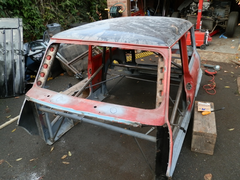 
Description
Shell just sitting on chassis.
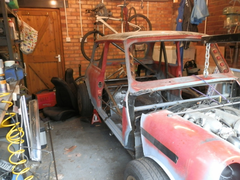 
Description
|
|
|
|
|
maccmike
|
| posted on 1/1/15 at 10:44 PM |

|
|
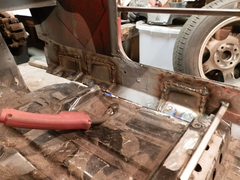
Where the previous owner had welded the roll cage mounts and seat mounts, the welding was terrible, bad enough I was able to pull one seat rail out by
hand!
Decided it was best to cut out the bad welds and reweld good metal in.
Went from this
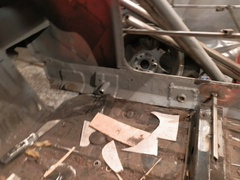 
Description
to this
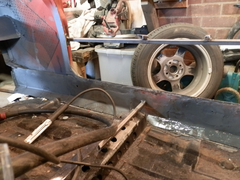 
Description
via these. Not smooth finish but solid and will be carpeted.
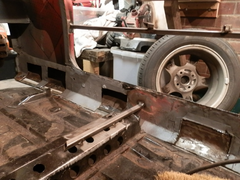 
Description
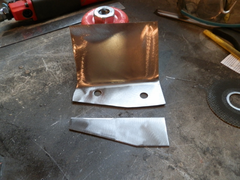 
Description
Description
|
|
|
Ivan
|
| posted on 2/1/15 at 07:30 AM |

|
|
Interesting thread - will keep an eye on this.
|
|
|
Nickp
|
| posted on 2/1/15 at 07:49 AM |

|
|
quote:
Originally posted by Ivan
Interesting thread - will keep an eye on this.
+1
How much longer's the wheelbase then?
|
|
|
kj
|
| posted on 2/1/15 at 10:49 AM |

|
|
Me too
Think about it, think about it again and then do it.
|
|
|
theduck
|
| posted on 2/1/15 at 01:03 PM |

|
|
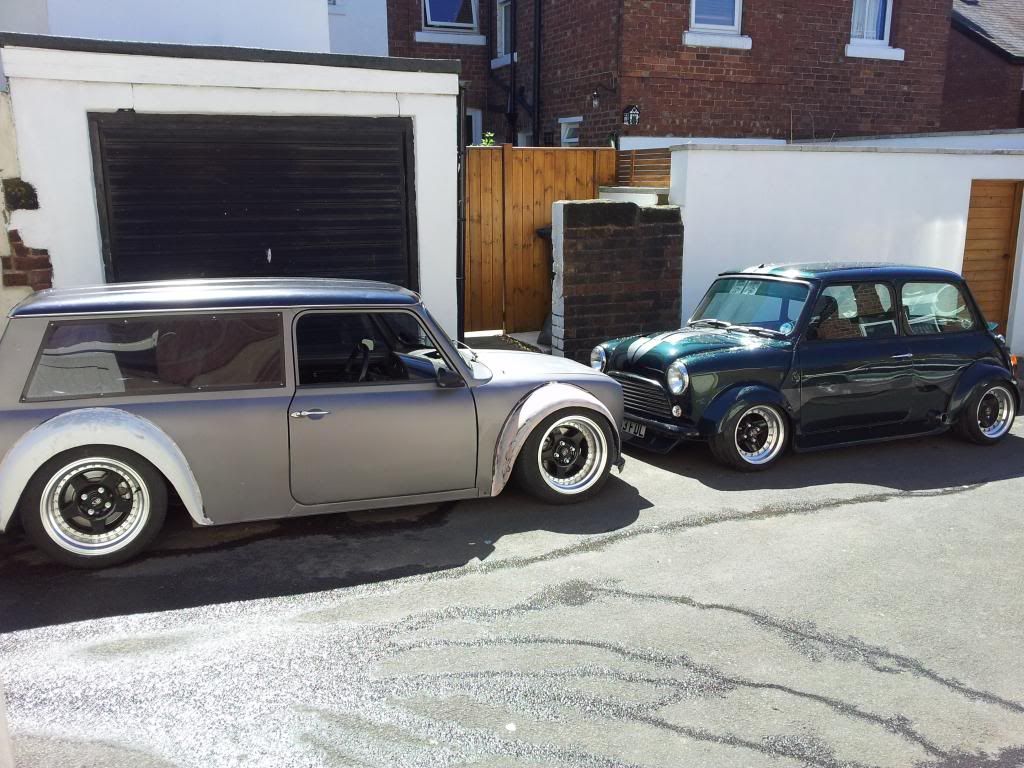
Here is one thats been done before, quite a lot longer!
|
|
|
prawnabie
|
| posted on 2/1/15 at 01:19 PM |

|
|
Is there any reason why you can't just shorten the propshaft and powerplant frame instead of extending the body?
|
|
|
myke pocock
|
| posted on 2/1/15 at 03:17 PM |

|
|
Mmmm, some food for thought here.
|
|
|
maccmike
|
| posted on 2/1/15 at 06:14 PM |

|
|
There are 2 estate minis using MX5s that I know of. The one not pictured didnt cut the mx5 sills off so had to have wider body and it looks poo. Think
he did it that way to avoid the iva.
The one above looks good though with the exception of the arches.
I dont know of a hatchback mind.. so hopefully mine will be the first.
Wheel base is something like 20cm different and most of that can be lost in the bodywork. Although there will be a slight extension front and rear but
nothing extreme.
Im not shortening the wheelbase for 1 reason only; Why mess with a well regarded handling/drivers car? Having said that I am going to remake the rear
wishbones so the wheelbase will be approx 1-1.5" shorter.
It is an '89 but I will be mark oneing it. Rear lights, exterior door hinges etc.
I will asking plenty of questions over the next year or 2.
|
|
|
maccmike
|
| posted on 4/1/15 at 07:54 PM |

|
|
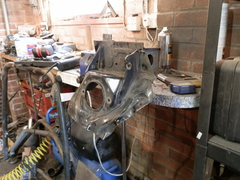
Started on the front suspension mounts.
This is the section I saved from the MX5.
Description
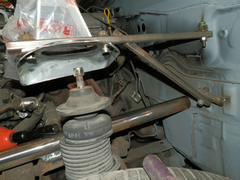
Simple removable jig fitted before cutting up old unit. This is to ensure angles/height etc are correct.
Description
Cut it up to keep the fixing bolts and shocker turret.
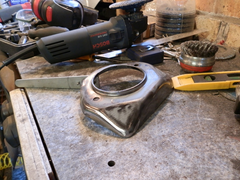 
Description
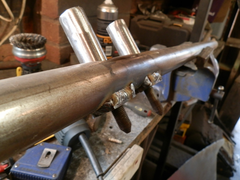
Bolts welded in
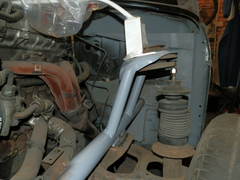
Description
Of course there will be more triangulation but will have to wait until the roll cage is in. At least now it gives me a reference point to start at
the back.
Description
|
|
|
maccmike
|
| posted on 5/1/15 at 05:32 PM |

|
|
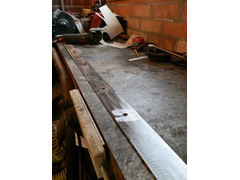
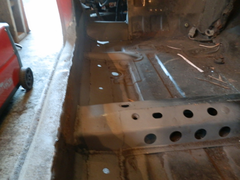
I overlapped the edge of the MX5 floor and the mini inner sill.
I did this so I can then butt weld another piece in underneath and get a descent amount of heat into the weld. The holes are the to plug weld the said
piece in once I get round to it.
I have also migrated the original seat floor mounts in to the inner sills too.
Description
Description
|
|
|
maccmike
|
| posted on 2/2/15 at 10:53 PM |

|
|
A little bit more progress. Iv been unwell and with the weather being so cold Iv not done as much as Iv wanted.
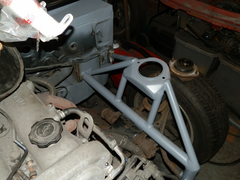
This is the almost complete subframe/shock mounts. Still a bit more triangulation to go in but cant do that until roll cage is in. Also, the strut
brace will also be triangulated and bolted to the bulk head.
Description
FAO Prawnabie: I took your suggestion onboard and proceeded to shorten the wheel base by 100mm. Fingers crossed this doesnt have a negative effect on
handling.
As you can see in the picture, the subframe has a step in it which made things more difficult.
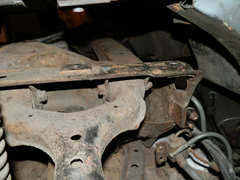 
Description
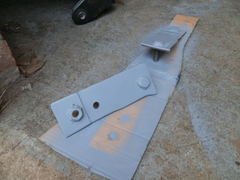
So I made some brackets.
Description
Copying the standard fixings (rear subframe is held on by 3 bolts/nuts each side (but Iv only worked on the 2 towards the front as the rear bolt will
incorporate the roll cage).
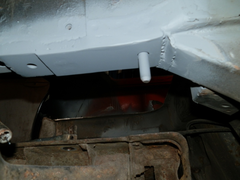
The 2 outer most fixings - 1 bolt, 1 captive nut are spaced identically to the standard set up and identical side to side as I tack welded them
together before drilling the holes. The middle hole is for the standard front most captive blot to sit in. This ensured the subframe is exactly 100mm
further forwards on both sides.
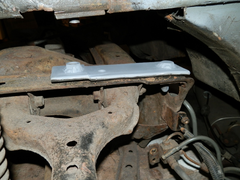 
Description
The hole that the standard bolt fitted in for alignment was them trimmed don and plug welded into the new bracket.
Description
|
|
|
maccmike
|
| posted on 4/3/15 at 08:19 PM |

|
|
Bit more progress since shortening the wheelbase..
Completed the remaining chassis - subframe mountings so its back to factory.
Then remade the shocker mounts and gave it a coat of etch primer. It appears absolutely solid but will get further strength once roll cage is in.
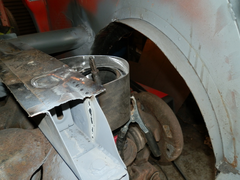 
Description
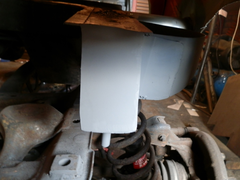 
Description
Rolled it outside today to sweep garage floor.
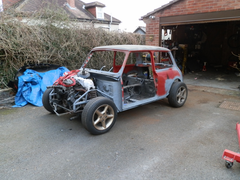 
Description
Yes, the wheel/arch/ride height looks awful but this is with no glass, interior, electrics, doors + some (well lots) metal work to complete. Once its
on adjustable coilovers and smaller wheels Im praying it will look right.
|
|
|
maccmike
|
| posted on 22/3/15 at 10:56 AM |

|
|
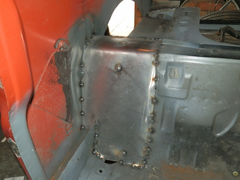
Need clearance for the rear of the rear wheel
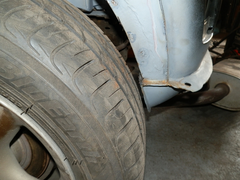 
Description
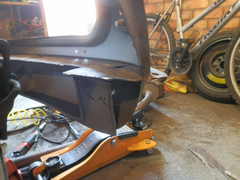 
Description
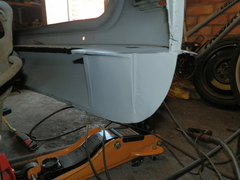 
Description
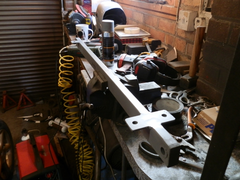
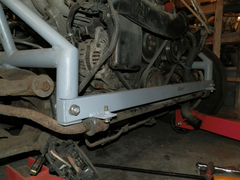
Made an anti rollbar bracket that is removable, this is to allow future 'engine out' easier
Description
Description
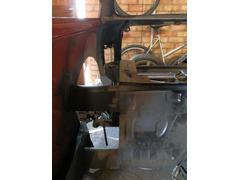
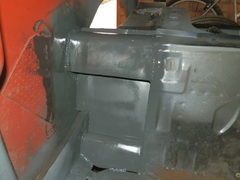
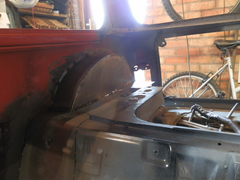
Started to box the rear wheel arches in
Description
Description
Description
Description
You can just see the black pen line, a flat sheet will go in here in the near future which wheel seal the entire floor.
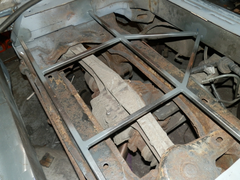
Made a bracket that the floor and then the fuel tank will sit on.
Description
[Edited on 22/3/15 by maccmike]
|
|
|
maccmike
|
| posted on 1/4/15 at 08:49 PM |

|
|
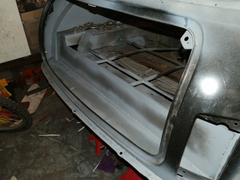
Boot floor support completed.
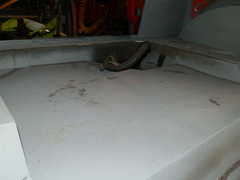
Description
Boot floor finished with cutout in corner to pass battery cables and fuel pipes through
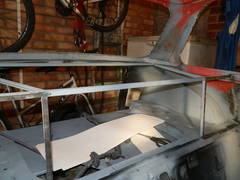
Description
Boot compartment frame installed
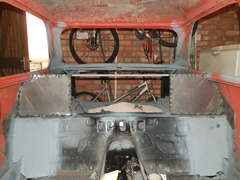
Description
Started boxing it in. The vertical and horizontal centre sections will be removable to allow access into the boot from 3 sides.
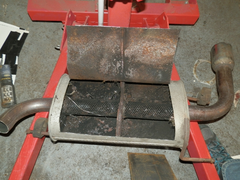
Description
MX5 exhaust disected.
Description
|
|
|
woodster
|
| posted on 4/4/15 at 07:24 PM |

|
|
Great project  .... Would it be possible to run it on 10s or 12s, something more mini sized ...... .?? .... Would it be possible to run it on 10s or 12s, something more mini sized ...... .??
|
|
|
maccmike
|
| posted on 4/4/15 at 07:39 PM |

|
|
13" it'll be going on. Which happens to be the smallest you can go on an MX5
|
|
|


