tims31
|
| posted on 14/9/16 at 11:17 AM |

|
|
Fury Bonnet Aerocatch Pictures
Hi,
Does anyone have any images of their Aerocatch installed on the Fury bonnet please. I'm thinking of installing these but not sure the best
location for the latch or the pins.
What do you have please.
Ta
Build: http://www.martinsfurybuild.co.uk/
|
|
|
|
|
avagolen
|
| posted on 14/9/16 at 04:43 PM |

|
|
Hi Tim,
Here is a picture of my Fury side on showing the bonnet catch.
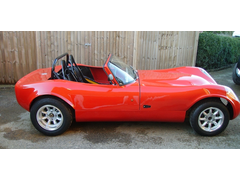 
Description
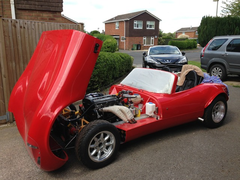 
bonner_up
If I was doing it again, I would not use the recessed Aero catch as they are really designed for a thin surface
to be mounted on - ie steel or similar.
Mine are mostly mounted on the gel coat. 
I hope the picture gives you an idea.
Len.
[Edited on 14/9/16 by avagolen]
The Answer for everything, but never the last word....
|
|
|
HowardB
|
| posted on 14/9/16 at 07:36 PM |

|
|
I made a couple of brackets to mount the pins on. I'll get some pics at the weekend
Howard
Fisher Fury was 2000 Zetec - now a 1600 (it Lives again  and goes zoom) and goes zoom)
|
|
|
tims31
|
| posted on 14/9/16 at 07:44 PM |

|
|
quote:
Originally posted by avagolen
If I was doing it again, I would not use the recessed Aero catch as they are really designed for a thin surface
to be mounted on - ie steel or similar.
Mine are mostly mounted on the gel coat. 
I hope the picture gives you an idea.
Len.
[Edited on 14/9/16 by avagolen]
Hey Len,
Did you find that mounting on the side pod was strong enough to hold the bonnet down/inplace. Haven't fitted the pod yet so could always
strengthen. Did you fit them after fitting the sidepod?
Some close up pictures of the pin would be great if you could please.
I looked at the flush ones but thought they may be a bit difficult to get right.
Thanks Len as always.
[Edited on 14/9/16 by tims31]
Build: http://www.martinsfurybuild.co.uk/
|
|
|
tims31
|
| posted on 14/9/16 at 07:44 PM |

|
|
quote:
Originally posted by HowardB
I made a couple of brackets to mount the pins on. I'll get some pics at the weekend
Thanks Howard, that would be great,
ta.
Build: http://www.martinsfurybuild.co.uk/
|
|
|
adithorp
|
| posted on 14/9/16 at 08:01 PM |

|
|
I used the surface mount version. I thought the recessed ones were a bit weak, given how thin the bonnet had to be and just the countersunk head to
hold on the outside; I also wasn't confident of trimming the hole to fit really well. I started out intending to use one catch at the rear
corner but found the front end flexed so went for 2 each side. In retrospect I would go with one and a locating pin at the front. Getting the nut on
the inside of the side pod is a bit tight to the side. My side pods have cracked around all 4 but they have had a hard knock life. I repaired
inside/out with large discs of ally folded over to fit the edge. Doing it again I'd bond a plate on the inside to spread the load.
One catch 2weeks preSVA...
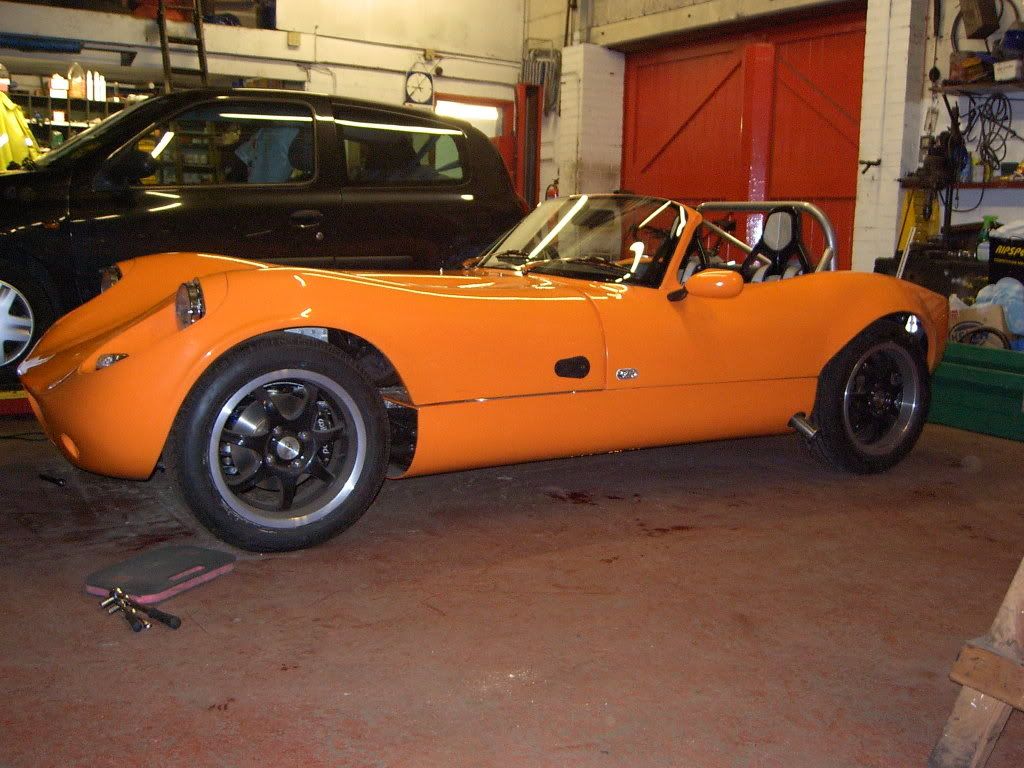
Final design with 2 catches and a matching vent between...
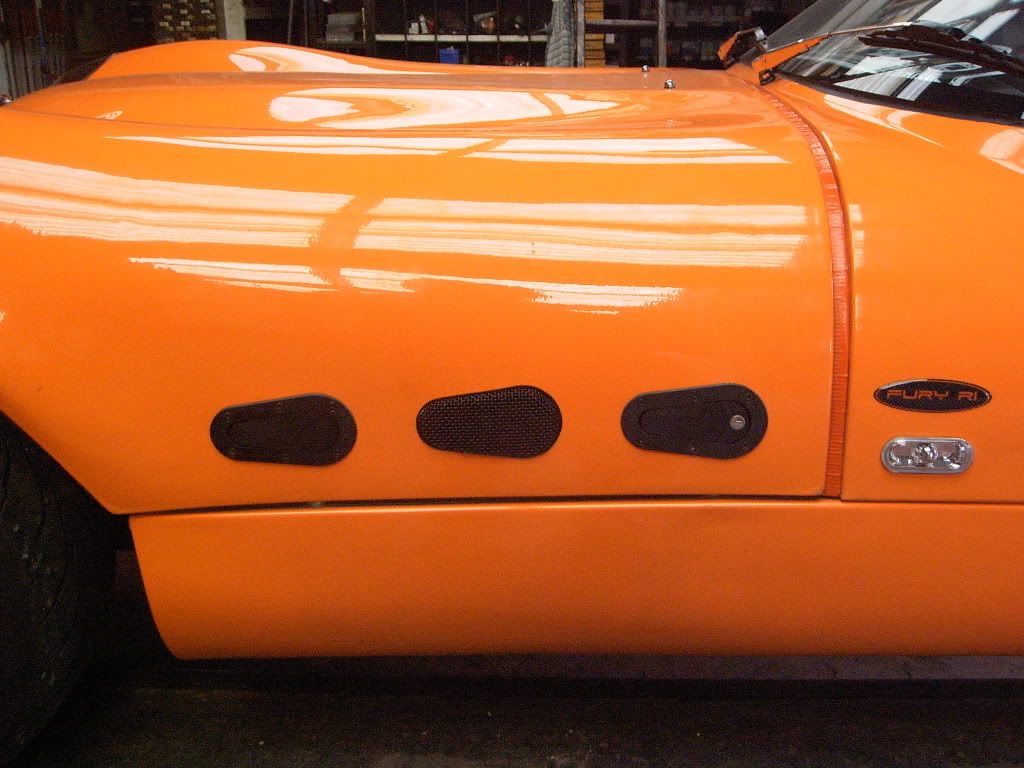 [/U
RL] [/U
RL]
I looked for pics of the pin but only have this from after a bonnet/armco interface at Cadwell...
[URL=http://s189.photobucket.com/user/adrianthorp/media/Cadwelldamage005650x488.jpg.html]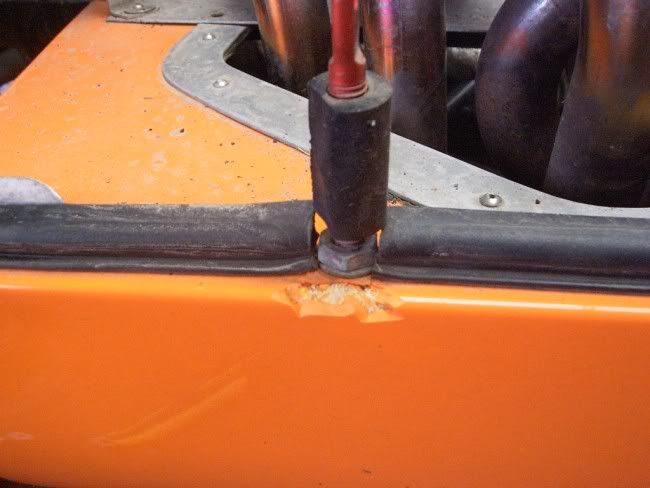
Found one with the repair plates (and all my touring spares/tools stored)...
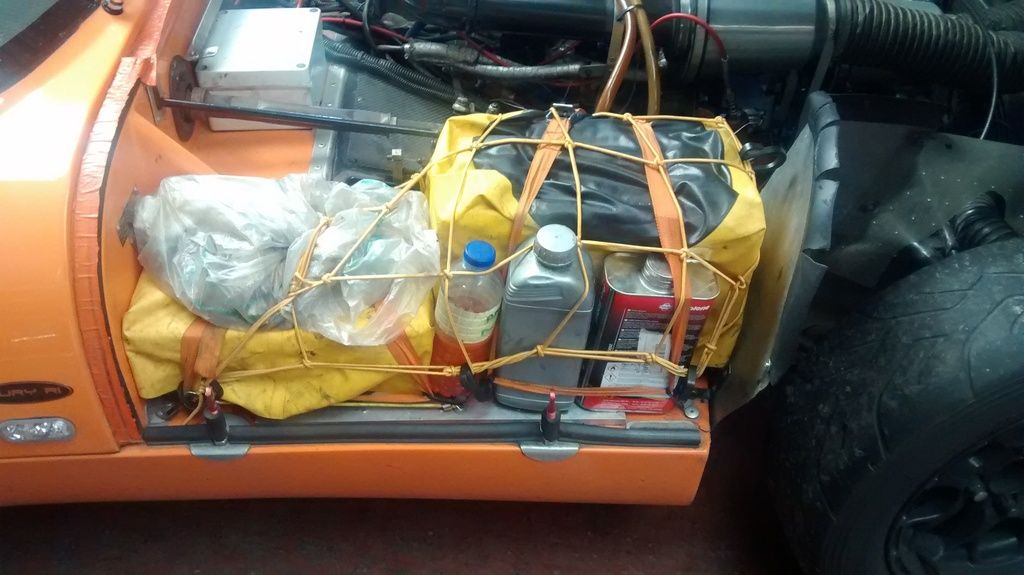
"A witty saying proves nothing" Voltaire
http://jpsc.org.uk/forum/
|
|
|
tims31
|
| posted on 14/9/16 at 08:34 PM |

|
|
Thanks Adi,
Think I'll have a look at bonding an ali plate into the side pod before I finally fix that in place
Need to look measuring this up once I've fitted the catches
Build: http://www.martinsfurybuild.co.uk/
|
|
|
HowardB
|
| posted on 17/9/16 at 06:55 PM |

|
|
As promised. Bracket is matched by a mirror image inside the pod. The stud is fitted to the adaptor so it can all lined up and adjustable.
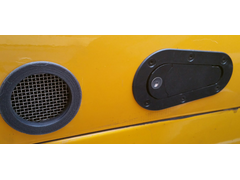 
Aero catch outside and vent
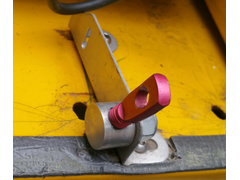 
Latch front
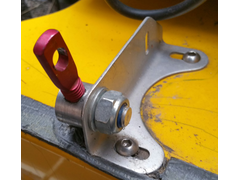 
Latch rear
Hope that helps

Howard
Fisher Fury was 2000 Zetec - now a 1600 (it Lives again  and goes zoom) and goes zoom)
|
|
|
tims31
|
| posted on 17/9/16 at 09:11 PM |

|
|
quote:
Originally posted by HowardB
As promised. Bracket is matched by a mirror image inside the pod. The stud is fitted to the adaptor so it can all lined up and adjustable.
 
Aero catch outside and vent
 
Latch front
 
Latch rear
Hope that helps

Great, like that idea. Being adjustable should also make them easier to fit i guess.
Thanks Howard
Build: http://www.martinsfurybuild.co.uk/
|
|
|
adithorp
|
| posted on 17/9/16 at 10:22 PM |

|
|
If you're worried about the strength of the sidepod to take the pin, given the damage in my previous picture. This is the state of the bonnet
hinge after the same impact...
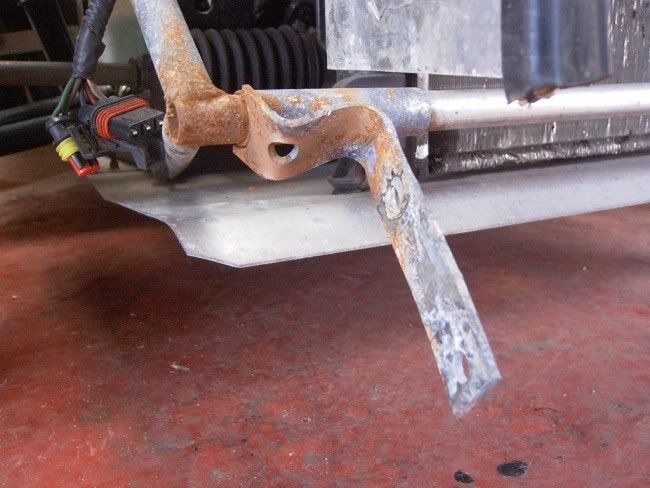
The pod might have cracked but it did hold.
"A witty saying proves nothing" Voltaire
http://jpsc.org.uk/forum/
|
|
|


