Simon
|
| posted on 14/6/07 at 11:40 PM |

|
|
David,
Was gonna mention the top wishbone mounting brackets. Do front and back - they were one of my failure points, and for the sake of 5 mins, I
wouldn't recommend chancing it
Re the headlight mountings, I cut mine so I could run the wires inside the mounting tube, then put grommet in hole underneath.
Nice job too!
ATB
Simon
[Edited on 14/6/07 by Simon]
|
|
|
|
|
flak monkey
|
| posted on 15/6/07 at 06:08 AM |

|
|
SVA is booked, but I am awaiting confirmation of my date. Hopefully early July, was offered the 28th June, but can make it due to uni commitments.
The toggle switches are well within the exempt area, they are actually all behind the steering wheel.
The foam profile did just the job on the bottom of the dash, thanks Steve. The rest was re-padded with 8mm camping mat.
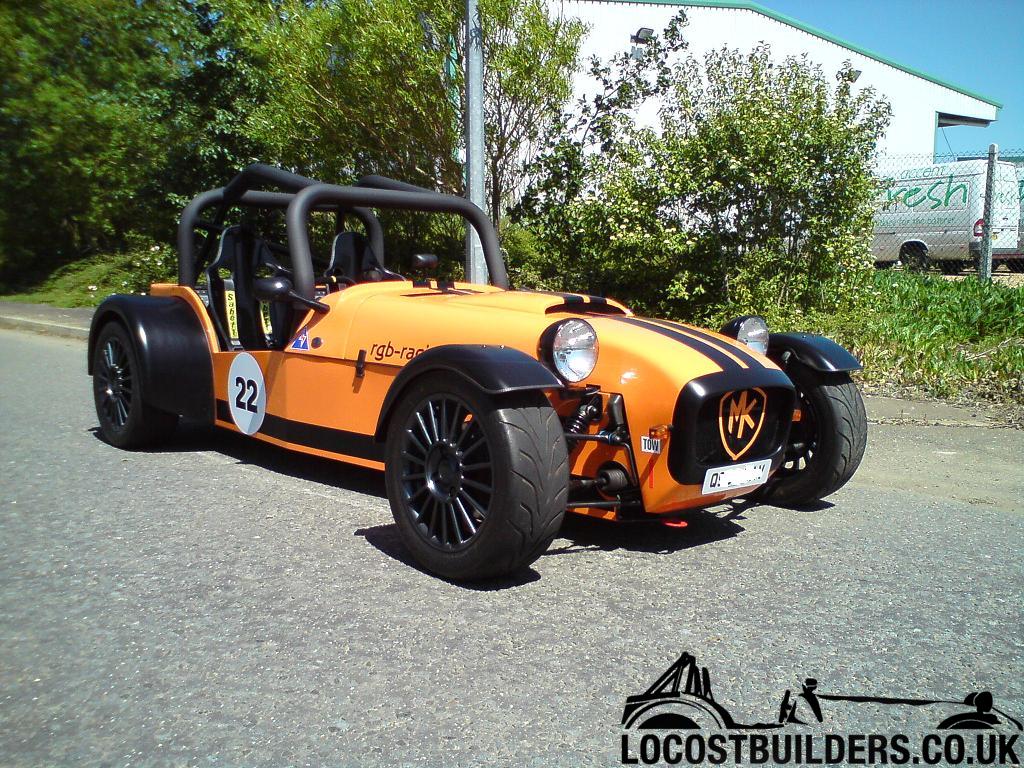
I have now covered the front wishbone brackets, the rear ones dont really stick out much at all, and I can get any trim on them.
Have covered the headlight threads with self amalgamating tape for now. I find it unlikely that the tester will get his ball in under where the
headlights are to even touch the thread. Exposed front suspension should only be tested for projections from the front anyway according to the manual,
though many testers dont seem to pay attention to that....
David
I plan on taking a boot full of trim and bits to cover anything that might be found...
Sera
http://www.motosera.com
|
|
|
DarrenW
|
| posted on 15/6/07 at 08:58 AM |

|
|
I hate doing this as its such a tidy job. Any comments will be from Gosforth perspective Im not saying they are a fail but something to consider. Im not saying they are a fail but something to consider.
1. Headlight threads.
2. Stg rack extensions - hex visible.
3. Adhesive tape holding the covers before 2. - i wasnt allowed to use sticky tape.
4. Couldnt see how the steering intermediate shaft was connected to steering column - i had to fit longer pinch bolt and lock nut.
5. Gear knob.
6. Steering wheel - check spokes rad and fixing bolts. May need a crash pad over or Sierra wheel fitting. I got away with aftermarket wheel but had to
fit collapsible boss behind it.
7. Couldnt see the screw hole bosses for rear lights - i had to fill with clear silicon. I also had to increase the rad around the fog light
housing.
It is a very very nice car. Cant wait to see it for real.
|
|
|
matt.c
|
| posted on 15/6/07 at 09:03 PM |

|
|
quote:
Originally posted by flak monkey
SVA is booked, but I am awaiting confirmation of my date. Hopefully early July, was offered the 28th June, but can make it due to uni commitments.
The toggle switches are well within the exempt area, they are actually all behind the steering wheel.
The foam profile did just the job on the bottom of the dash, thanks Steve. The rest was re-padded with 8mm camping mat.
I have now covered the front wishbone brackets, the rear ones dont really stick out much at all, and I can get any trim on them.
Have covered the headlight threads with self amalgamating tape for now. I find it unlikely that the tester will get his ball in under where the
headlights are to even touch the thread. Exposed front suspension should only be tested for projections from the front anyway according to the manual,
though many testers dont seem to pay attention to that....
David
I plan on taking a boot full of trim and bits to cover anything that might be found...
Dont you mean matt will be taking a boot full of trim, kitchen sink, plunger!!!  

|
|
|
flak monkey
|
| posted on 16/6/07 at 06:28 AM |

|
|
quote:
Originally posted by DarrenW
3. Adhesive tape holding the covers before 2. - i wasnt allowed to use sticky tape.
4. Couldnt see how the steering intermediate shaft was connected to steering column - i had to fit longer pinch bolt and lock nut.
It is a very very nice car. Cant wait to see it for real.
The tape is self amalgamting tape, not insulating tape and should, in theory, be OK as you need a tool to remove it i.e. a knife, you cant just peel
it off like normal tape. I have wrapped the extensions in that too.
I have put a lock nut on the column pinch bolt already 
Sera
http://www.motosera.com
|
|
|


