Ta,
Pat...

Having seen people asking for dash layouts on many occasions, can we all post a pic of our dashboards so that all pics are together on one post?
Ta,
Pat...

Rich
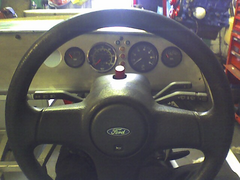
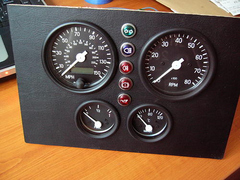
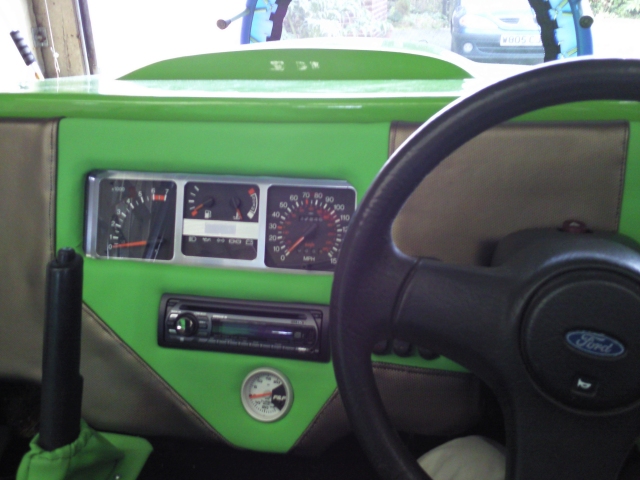
Here's mine, well retro
oil pressure in empty hole, water temp, speedo, lights, revs, fuel
[Edited on 4/9/2007 by caber]

Rescued attachment Photo_031007_002.jpg
Here's mine
Rescued attachment Dash.JPG
Left to right, water temp, oil temp, oil pressure, VR2 Veypor, Bright 6, Ignition and Start.
Overview:-
Drivers view:-
Mike
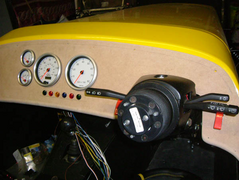
and mine

Rescued attachment snap off.jpg
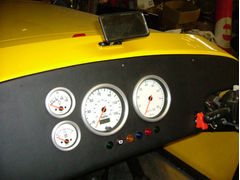
and from the other side with vinyl

Rescued attachment dash.jpg
bike clocks and savage switches,ignition and 4 auxillary switches to add.jpg)
Here's mine Hopfuly
Or not
[Edited on 9/4/07 by locoR1]
Description
thats better
[Edited on 9/4/07 by locoR1]
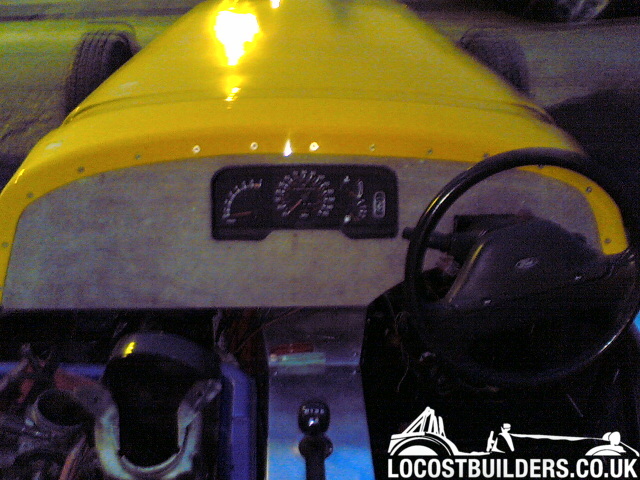
Here's mine.... 
Left is Rev Counter, middle Oil Pressure/Water Temp, Right, Speedo. 
Fozzie 
Dash taken by shortie

and
.jpg)
[Edited on 10/4/07 by jollygreengiant]
Pre sva 01
ATB Dan.
My old dash,
[img][/img]
heres mine
dash
[Edited on 10/4/07 by redeye]
.


Rescued attachment dash_1.jpg
mine


Dash
[Edited on 10/4/07 by mookaloid]
Hi all,
here's ours, not covered, but shows the instrument layout. Pictures are clickable for bigger images....


Chris
Heres ours - you can just about see all of it acumen gear indicator and the ignition switch are on the other side of the wheel
Description
Edit to add photo 
Ed
[Edited on 10/4/07 by esn163]
Hello,
Here is my dash.....yes the steeringwheel is on the left side...
Daniel

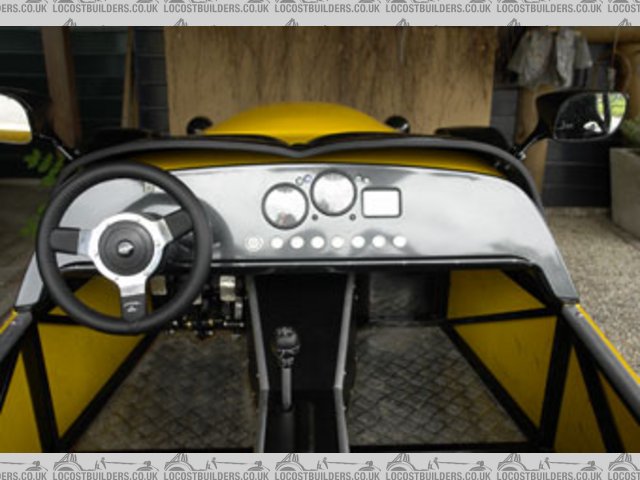
Rescued attachment Dash.jpg
[img][/img]
Mine...
Rescued attachment interior 2.JPG
Pre sva dash
Rescued attachment dash3.JPG
Here's mine.
Gauges are Dakota Digital, very high quality with recal functions, I wanted a digital dash but not the modern looking display type.
compilation striker
sad thing is that after I switched the steeringwheel to 1 size bigger I can't see how fast I'm going anymore..... but then again, who
cares?
grtz Thomas
My dash

Rescued attachment dash.jpg
Basic but functional
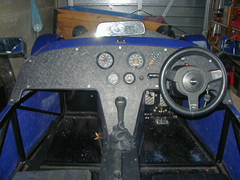

Rescued attachment MK Indy build pics 139.jpg
[img][/img]
Mine in a dim garage. Can't see the red glow of the backlights. Plus I need to put some sort of lid on the ECU box!
[Edited on 2/6/07 by Dusty]
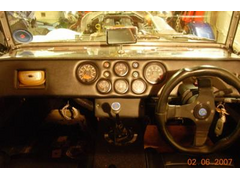

Rescued attachment dash.jpg
Here's mine
Rescued attachment vortx_dash.JPG
here's mine just finished today
Rescued attachment Dashboard.JPG
Here's ours.
Dash Pic
Phil
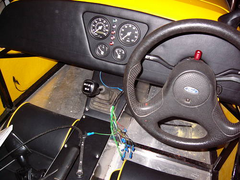
inset instrument panel with ETB gauges and SVC lamps...

Rescued attachment latest-1.jpg
Plywood, foam and vinyl dash finished and fitted...

Rescued attachment latest-2.jpg
BTW, zetec's dash is still the best looking effort IMO.
Here's mine
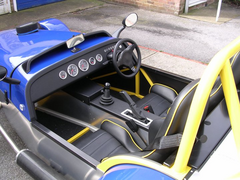

Rescued attachment Cockpit1.jpg
Here's ours now covered....


Chris
Here's mine, great thread BTW, My rev counter is skew wiff so my hands on the wheel don;t get in the way also in a racer-esqu pose, the red line
is approx 12o'clock so you can see and identify the posotion out of the corner of your eye, as if the noise wasn't enough warning!
two switches on right of wheel are manual fan and rear fog.
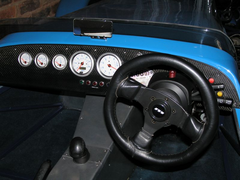

Description
chas
[Edited on 5/6/07 by Chazzy]
[img]http://[/img]
crap shot but it also uses the vapour and has everything i need in the line of sight.
geoff
Here's my effort. Am thinking of putting some black inserts in it somewhere.
[img][/img]
john.
And my new dash:
Good work everyone - turning out to be a great thread for ideas...
Pat...
Heres mine, clean lines and functional thanks to Dion .
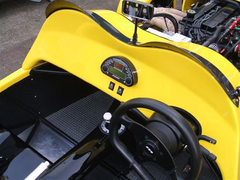

Rescued attachment MNR_VORTEX_008.jpg
Here's mine, not a good pic though , sorry
Jason
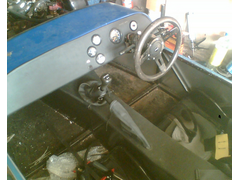

interior
here,s mine
fantastic thread!
fossie- how did you attach your aeroscreen? looks like there are no brackets?
les
carbon fiber ones are nice. zetecs is the best by far.
quote:
Originally posted by les
fantastic thread!
fossie- how did you attach your aeroscreen? looks like there are no brackets?
les


and one more! not finished at this point
[Edited on 5/7/07 by darrens]
Here's mine - soon I'll find a suitable neutral density filter to go in front & complete the minimalist ensemble
Bob
Rescued attachment dash.JPG

[img][/img]
And another..............
Rescued attachment Dash.JPG
quote:
Originally posted by wicket
Here's mine


[img][/img]
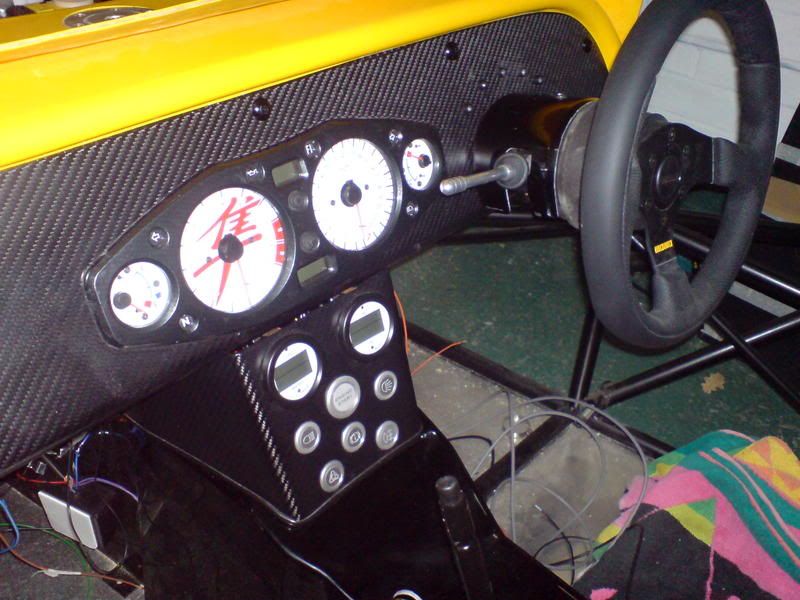
not quite finished, but you get the idea
as it is now
[Edited on 21/4/08 by FazerBob]
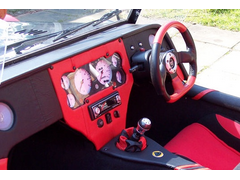

Rescued attachment dash.jpg
as it was originally
[Edited on 21/4/08 by FazerBob]
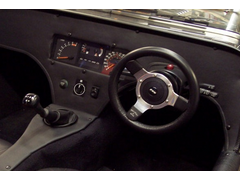

Rescued attachment Original dash.jpg
dash number 1

dash number 2

dash number 3

The original Sierra ones.jpg)
After a compleat retrim over winter heres my new dash just finished!
The old dash / interior shot is on page Two of this thread.

some nice dashes not finished mine yet but loads of ideas now ,mmm makes me wonder why i keep buying magazines that keep churning out the same stuff
every month , when we have such a source of information . on this site
thanks Vinnie .
'New' dash, with Aim MXL Pro digi dash
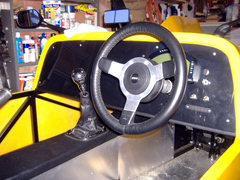

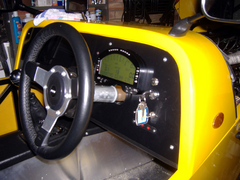

I think it's going to end up like this :
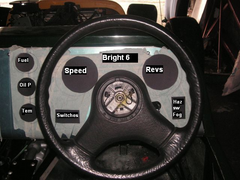

Dash Layout
I cut circles from black card and stuck them in place with Blutack. Checked I could see all dials from driving position. To be Classic Smiths
instruments: I think everything is within exempt area.
Not a 7 - if you ever think you're short of space, just take a look at this!

New Dash
This is the interim effort, although once completed am very pleased with it, may not get round to doing the final effort!!

Description
Not a very good shot but thought I'b add it anyway.
http://i189.photobucket.com/albums/z282/adrianthorp/Pre-SVA003-1.jpg
adrian
Again not a 7 type
Rescued attachment dash.JPG
OK, other then steering coloumn shroud, mines finished! 
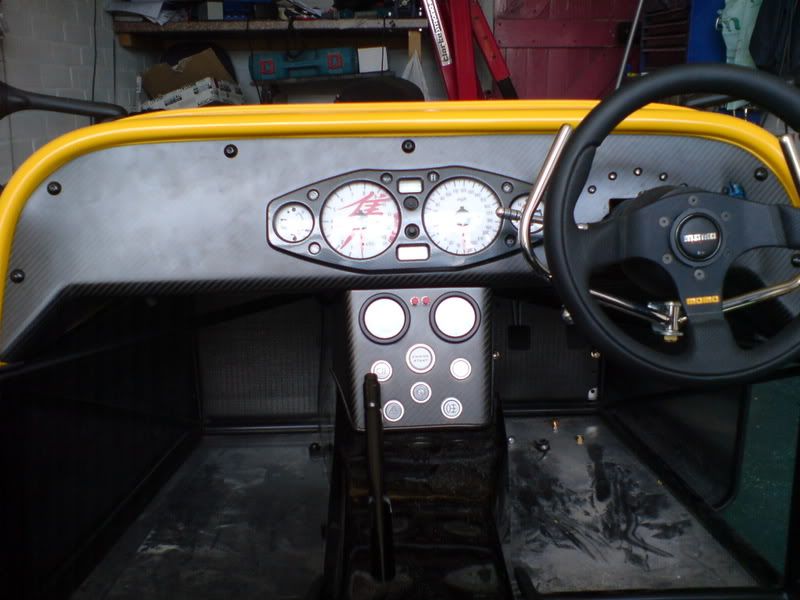
[Edited on 20/6/08 by iiyama]
BEFORE

AND AFTER
NEW DASH VID
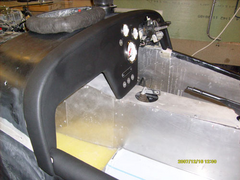

Dash 4
http://www.locostbuilders.co.uk/upload/Dash%20board%20002a.jpg
Dash for my Tiger Avon. Didn't like the idea of the dash finishing flush with the top of the scuttle so decided to laminate a timber around the
top of my ply dash and covered it with vinyl. Gives it a better finish and also a shadow line over the top.
Another photo, this time showing all the dials in position. Had to super impose the dials on the left as I intend to leave them off for the time being
as not sure that they will pass the SVA.
[img][/img]
STeering wheel temporary!
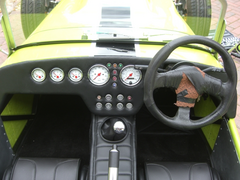

Rescued attachment dash.jpg
also not a 7 but a phoenix, switches are in a box on top of the sidepod
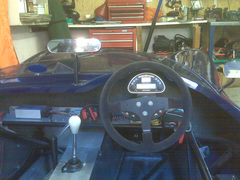

Rescued attachment IMG00029.jpg
here my dash board is, it has teh orginal serria clocks, with a rev counter a savage rear fog light switch, the dashboard is made from mdf covered in
foam covered in black vinly.
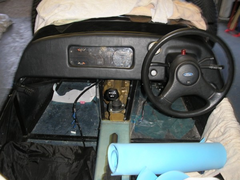

dashboard


dashboard
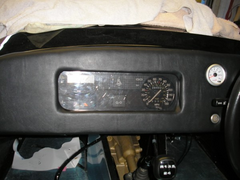

dashboard2
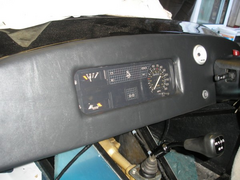

dashboard3
thanks
stuart
[Edited on 23/7/08 by Stuart_B]
...and another. If it doesn't show here, see my archive.
The little rectangular panel behind the shift lever carries the light switch (ex Cavalier rotary) and rocker switch for the indicatiors.
Here's mine, really happy with the result. would of liked the vinyl not to of gone saggy in places but hey ho first attempt and all that.
[img]
interior
[/img]
Jabbahutt, yours is fantastic
heres mine people:
FULLY functioning bike clocks, sva switches, accumen gear indicator. Simple but effective:
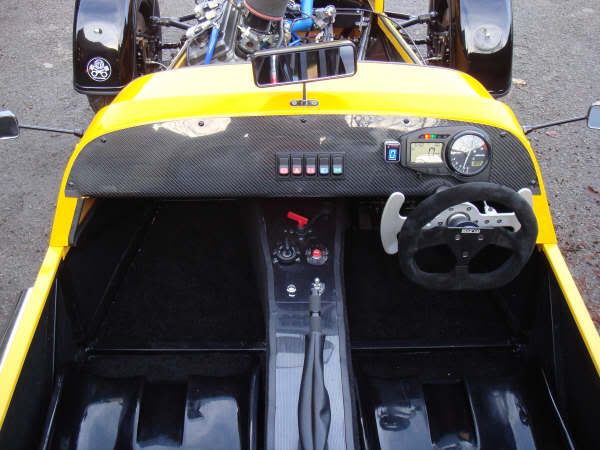
ST Locost Fireblade:

Fury V8:

Nice thread 
well I don't have much to show yet, but have been really inspired by alot of the stuff in this thread, so thought I could share what mine will
look like.. One day I will finish it.
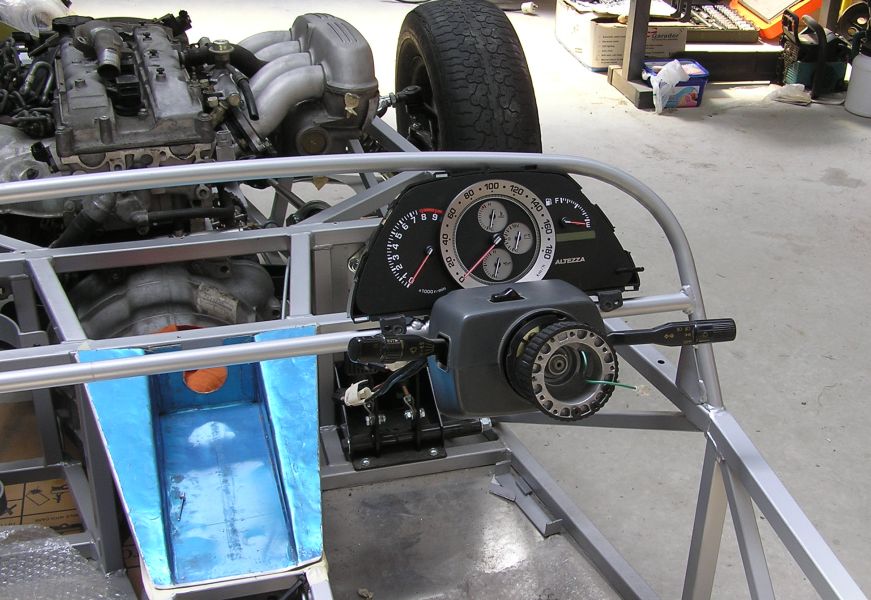
Any more pics using carbon dash, bike clocks, starter buttons etc (No digidashes)
Looking for the racing look. 

My new dash....
dash
Missing Starter Button (Centre hole) and Horn, Brake Warning. Obviously steering wheel and column aren't fitted!!
Otherwise....
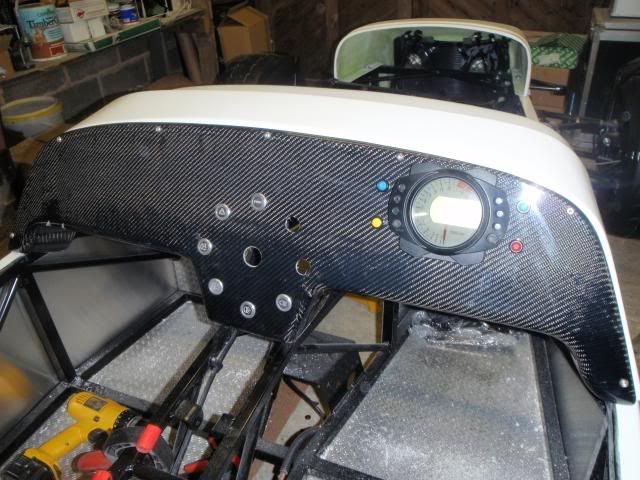
Well here's the central bit of my dash
finally i have my dash so i can post a pic here
have been looking forward to being able to post on this thread
.jpg)
Heres mine
Combine effort with wife doing soft bit me doing the rest
Obviously steering wheel not fitted

Description
heres mine as of last night
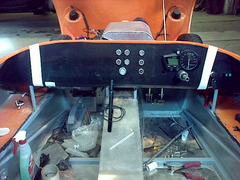

Rescued attachment dash.jpg
Heres mine
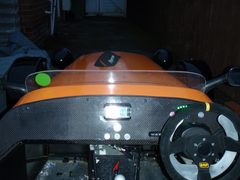

Description
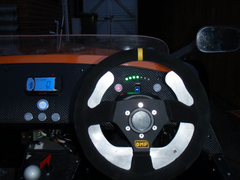

Description
here is mine not long finished
Rescued attachment DSCF1549 resize.JPG
Here is mine.. just not got the paddle shift fitted in this picture.
Here are 2 pictures of my dash layout on a mac1motorsports worx
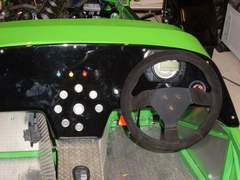

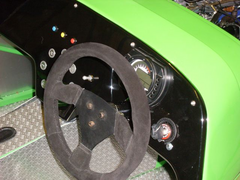
Dash

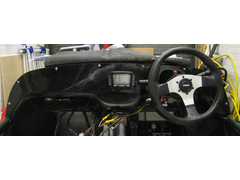
Dash 2
I have utilised the bike ignition barrel and key.
[Edited on 26-2-09 by Flamez]
Iam very confused how the carbon dash can be fited without bolts.....is that velcro tape?
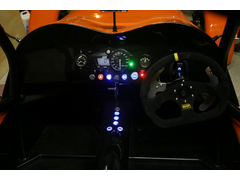
Still need to add a few switches.

Rescued attachment dash_final.jpg
Here's mine

Description
Here's mine.
6mm MDF with batons along lower edges, then radiused to 38mm, sealed, painted with gloss black then sprayed with dry film lube to give a satin black
look.
dash post sva 2
inspired by a spitfire cockpit.....
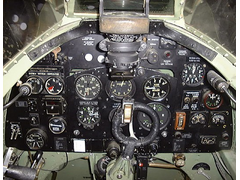

spitfire cockpit
[Edited on 10/5/09 by Slater]
One more....
Rescued attachment ABCD0013.JPG
Fiesta Mk3 indicator/headlamp switch with self cancel on turns, plus Hayabusa instruments set into a carbon dash. I changed this from the original
Westfield dash which was clumsy in my opinion to this which is much more simple and i can see all the gauges rather than looking through the steering
wheel.
Here's my effort.
(Car not yet finished)
David
Been wanting to show mine off for ages. 
[img][/img]
Here's mine...
[img][/img]
Missed this thread for some reason - mine...

Description
current progress on new dash - not 100% finished yet, decided to insert a cutout above gearlever

Here's my effort:
Still plenty of work to do on it yet. The wrinkly look in the middle is where I used packing tape to stop the resin running everywhere when I widened
the dash 
Sort of worked 
I'm going to pad it but still not sure whether to finish in black vinyl or what. Car is middle blue (or will be)
Original MK1 MR2 dials completely redone for the car....
Finished 1
The build can be viewed here....
http://www.locostbuilders.co.uk/viewthread.php?tid=76774
First I would like to thank you all who posted pictures, this shows that there are several ways to skin a monkey succesfully.
Due to a back injurie 

 , I´m forced out of the shop for a while, so no heavy weight lifting-lugging around, but I think I can do my dash as the
elements are light weight,
To the ones that posted, I was thinking if you have pictures to post of the back side of the dash where the wiring is.
Another thing i was wondering was how did you managed to pass the wiring through the firewall, Grommets, Firewall connectors, Firewall strips, etc.
As per the above, I´m planning to finish my dash in such a manner that I can install-desinstall as a Unit.
Thanks in advance for posting ideas.
Seasons greetings.
AA
On mine (not shown), most of the wires from the dash go to the fuse and junction boxes mounted on the firewall (made of plastic in my case, so not
really a firewall, then), and others go down through an opening in the transmission tunnel to the engine bay, and on to lights etc.
Although the majority of wires are in convoluted tubing, it is a real mess under my dash. I would love to have someone help me clean it up so I could
unplug things and eventually replace the dash.
RK,
Thanks anyway, as stated on my original question, I was trying to gather information to make some kind of modular installation.
Thanks again and regards.
AA
Picture of mine. In answer to a question above, when I re-wired mine I terminated every single wire with these. In this way I can detatch the thing as
a unit if I have to.
http://www.cbsonline.co.uk/multipin-wiring-connectors-8-way-mul8-single-3402-p.asp.jpg)
Contaminated,
Cheers.
AA
Thid is my layout only....
Still have to try on for fit once Steering wheel position is determined.
[Edited on 2/13/2010 by Angel Acevedo]
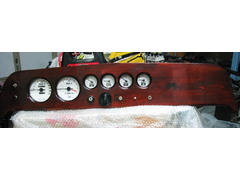

Rescued attachment Dash.jpg
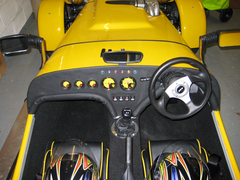
This is my layout only....
Still have to try on for fit once Steering wheel position is determined.
Any help regarding the number and functions of switches that I may be overlooking would be very appreciated.
[Edited on 2/13/2010 by Angel Acevedo]

Rescued attachment dash compressed.jpg

Rescued attachment dash compressed.jpg
Finally completed my Dash!
Dash done!
pic of my almost finished dash... 

Like others, I have been looking forward for ages to posting my completed effort here....
Some inspiration from jabbahutt and one other (who I forget as their photo has long since vanished into the 'hard-drive-with-a-hole' in it)
but theirs had the beading around the edge.
Thanks, guys.
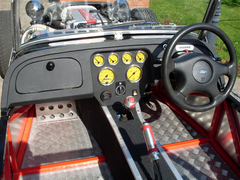

Description
[Edited on 3/9/10 by stevegough]
( not yet covered / painted )
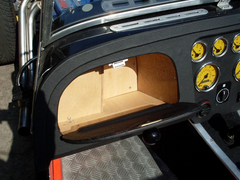

Description
Is the bottom edge padded? If not it has to be 19mm radius and the angles on yours don't look like that from the pictures.
Nice though.
adrian
good point, Adrian - the bottom of the dash (left side only) has a 40mm diam section of waste pipe tubing filled with a shaped 2x2 piece of wood (to
give purchase to the 7off 1 1/4" screws) - the ply is then shaped to it, and it is all covered with vinyl.
As the section over the driver is steeply angled and filled with steering column, it wasn't necessary / possible to do it on that side. (I
hope). 
There are more photos of the components in my archive under 'interior' but, as yet, none showing how I fitted the radiusing bit.
[Edited on 3/9/10 by stevegough]
for Adrian - took a pic showing the bottom radiusing....
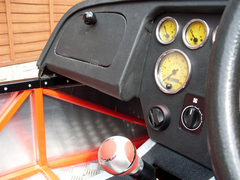

Description


http://www.flickr.com/photos/34192371@N00/5323163447/
[Edited on 4/1/11 by cat]

previus lost...
Here's mine
using the ZZR14 clocks, just a basic layout really have oil pressure gauge, i'm trying to use the bike clocks fuel gauge
not sure if it give a true reading yet.
i'll know when i run out of fuel
not a great piccy taken with my phone and low light
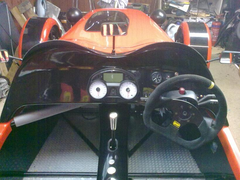

Dash layout
[Edited on 6/4/11 by Johneturbo]
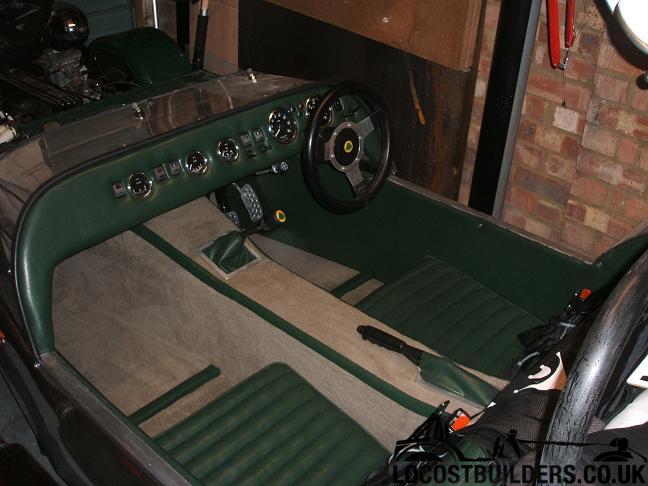
The above has turned out superbly!! I take my hat off to you for a truly stunning job.
3rd attempt since owning the car -

[Edited on 22/6/11 by sssline]
quote:
Originally posted by jossey
New dash Hand made
It looks better on the car than sat on the back of my Tintop with clouds above it.
Gonna fit it with the Cowling to hide the Steering hole.
quote:
Originally posted by stevegough
quote:
Originally posted by jossey
New dash Hand made
What happened, Jossey? - looks like a melt-down!
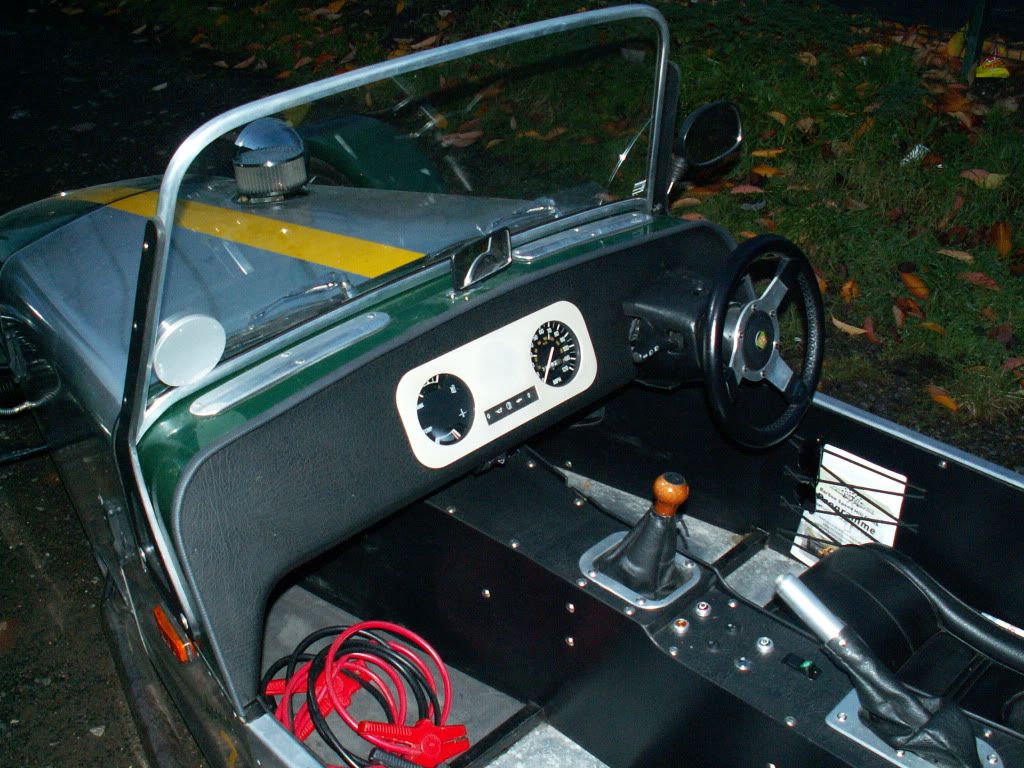
Mk 2 Escort instrument pod with the front curved face cut off flat, a piece of clear acrylic glue on and then a piece of thin alloy cut, shaped, bead
blasted and glued to the front.
Very nice. Where did you get the rubber trim around the top? Mine always end up looking like a 5 year old did them. I've done 4 of them.
Seriously.
[Edited on 31/8/11 by RK]
quote:
Originally posted by Jasper
One more....
Rescued attachment ABCD0013.JPG
quote:
Originally posted by i_froloshki
quote:
Originally posted by Jasper
One more....
Rescued attachment ABCD0013.JPG
Hi there Jasper,
I would like to ask you if the alcantara fabric that you have used is with some amount of foam on its back, or just the fabric itself? And the other question is - how do you treat the curves on the dash - heat, steam or just stretch it? I just drilled my dash yesterday and it is ready to be covered, but i do not know what fabric to put - with or without foam. Any advice will be highly appreciated.
Regards
Yavor
I can't take credit for this since I bought the car off the original builder, but I really liked the dash layout. (I have added the AF gauge and
mounted a remote set of Megasquirt ECU LEDs though)
Not being in the UK, we don't have a lot of the SVA radiusing issues you have.

I've taken a lot of inspiration from these forums and have a bunch of ideas welling up... Unfortunately a substantial number of them depend on me
learning to lay up Carbon Fibre first :-)
Cheers - N
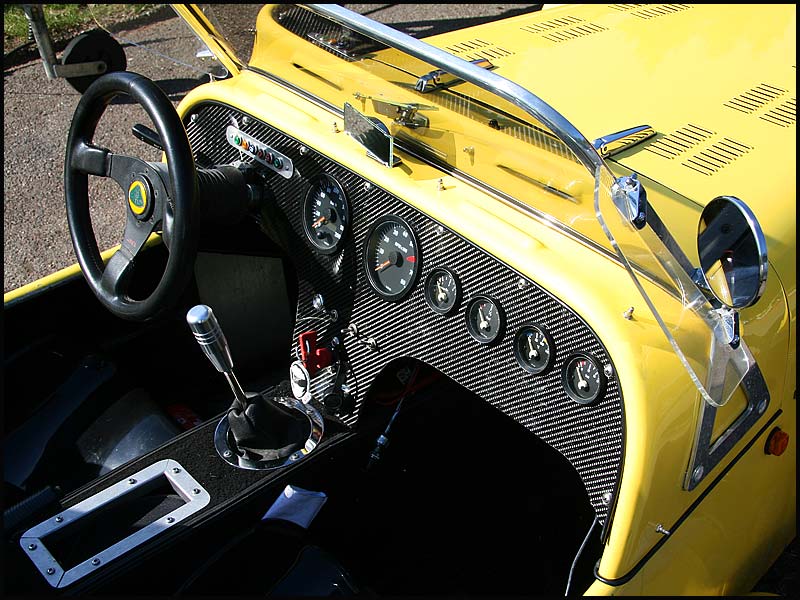
Wanted 'gated' aircraft switches, having seen them on another factory-built car, complemented by 'Savage switches' in the centre
all set in a c/f factory dash.
[Edited on 7/1/12 by bobinspain]
[Edited on 7/1/12 by bobinspain]
quote:
Originally posted by Angel Acevedo
quote:
Originally posted by i_froloshki
quote:
Originally posted by Jasper
One more....
Rescued attachment ABCD0013.JPG
Hi there Jasper,
I would like to ask you if the alcantara fabric that you have used is with some amount of foam on its back, or just the fabric itself? And the other question is - how do you treat the curves on the dash - heat, steam or just stretch it? I just drilled my dash yesterday and it is ready to be covered, but i do not know what fabric to put - with or without foam. Any advice will be highly appreciated.
Regards
Yavor
Yavor,
Foam has the advantage that looks better around corners, IMO, but has a couple of drawbacks, it gets cooked over time which may lead to the separation of the top layer and on open cars it retains moisture.
HTH.
AA

Hello,
here is the final result, i am happy with it with juuust a little mistakes but for my first dash it is fine. Next one will be much better i am sure.
[img]
Dashboard with instruments
[/img]
Regards
Yavor
Good work Yavor! 

All carbon fibre pre-preg. Seats are now carbon fibre pre-preg also.
quote:
Originally posted by mabbs

All carbon fibre pre-preg. Seats are now carbon fibre pre-preg also.
MEV Rocket :

Picture above is it at the Autosport show a couple of weeks ago. Car is still being built but should be on the road for this summer. Picture is with
the new carbon fibre pre-preg seats fitted, as the red Sparco seats have been sold.
[img]C:Usersthe bracewellsPicturesMy Picturesmk pictures[/img]
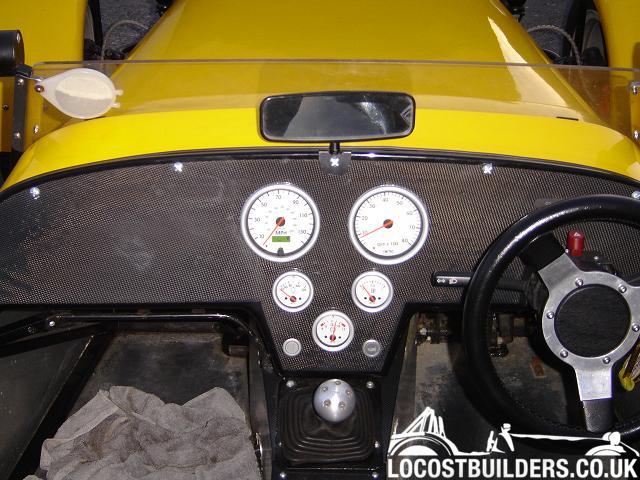
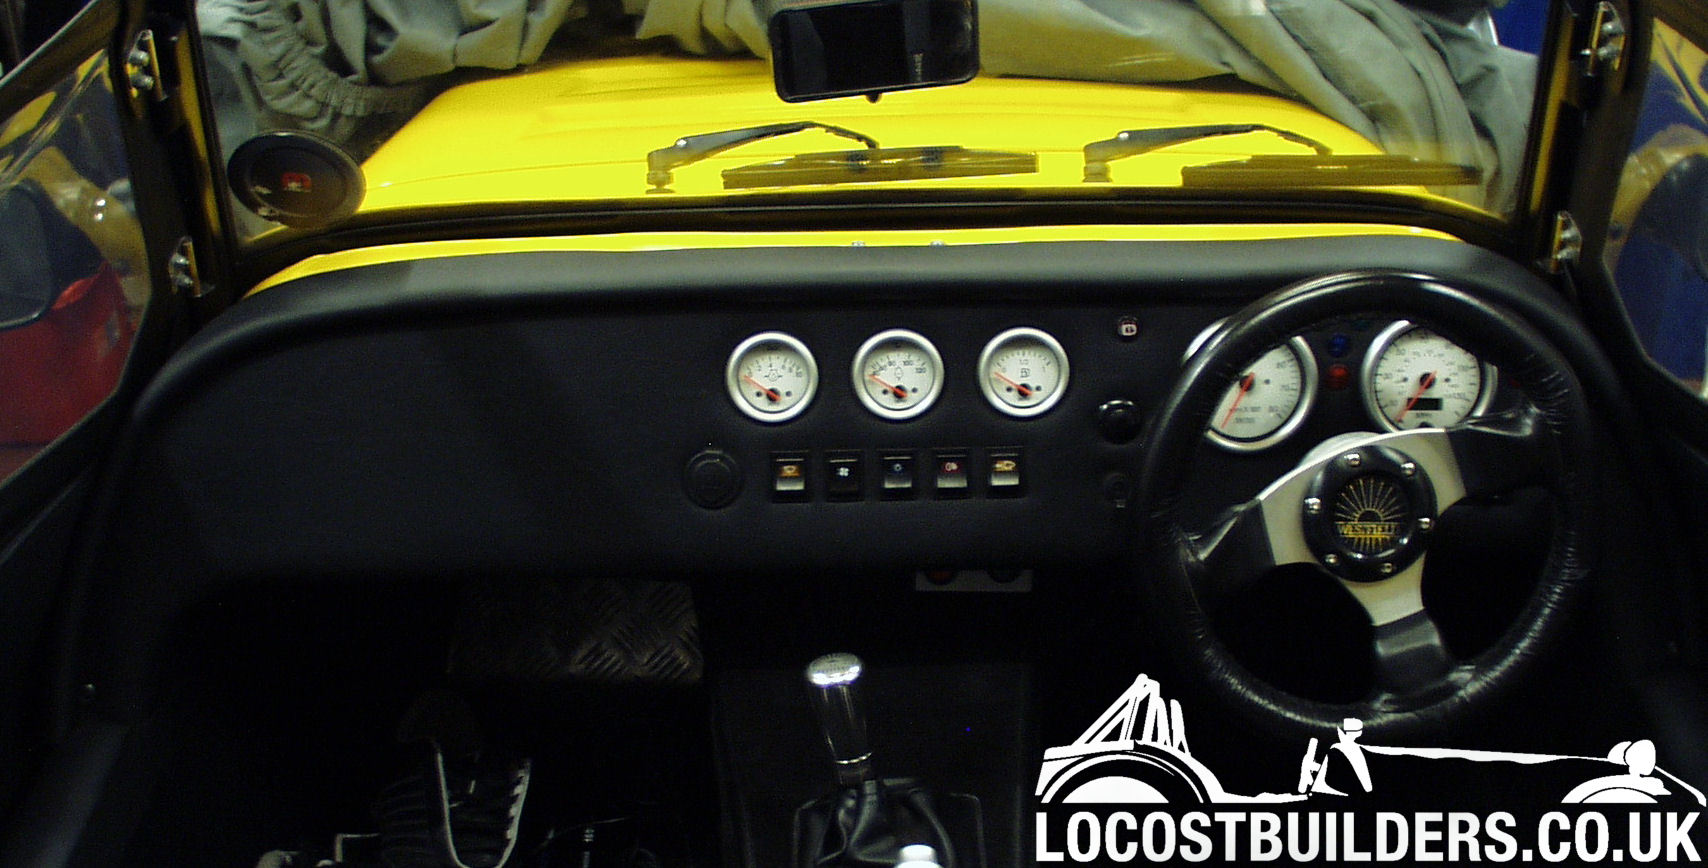
2006 SEIW/Durotec 2L, not the most modern dash layout
some lovely stuff here!
here's how mine's shaping up

Description
just about to laquer the carbon to shine it all up a bit
quote:
Originally posted by artweek
zetecs is the best by far.
26 not 7 !
Description
Here's my finished dash, only taken 4 months

After her makeover
Finally got my dash finished and covered
Enjoy

Thought I'd post my revised dash now I've finally finished it and the car is up for sale. The dash was the most enjoyable part of the
entire build for me probably because I didn't need to ask as many questions.
quote:
Originally posted by jabbahutt
Thought I'd post my revised dash now I've finally finished it and the car is up for sale. The dash was the most enjoyable part of the entire build for me probably because I didn't need to ask as many questions.
{}

quote:
Originally posted by Talkiet

Hi Guys,
Heres mine from my recently acquired JC Wide Body Sports Locust (built 1998) with titchy 'handcuffs' steering wheel.
Thx.

[img]
Completed dash trial fit
[/img]
this one is mine:
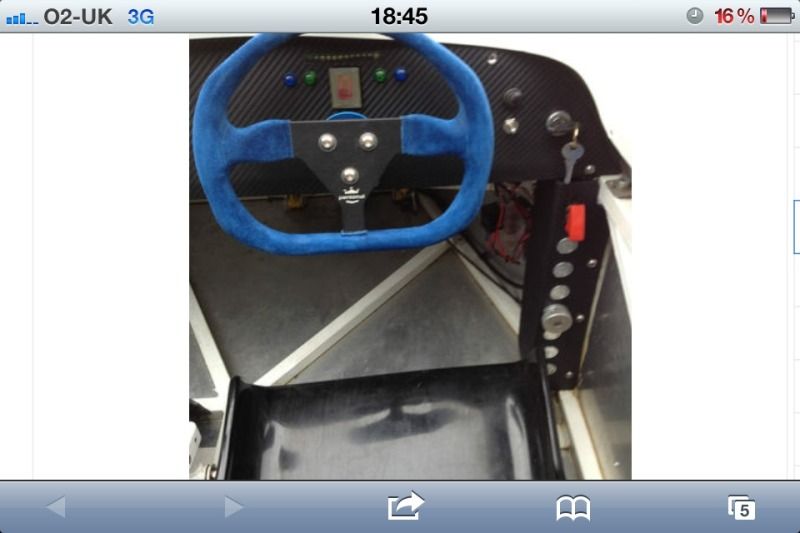
Sorry for the poor pics i need to take better ones, id like to swap the standard clocks for a digidash or similar but i love the switches etc the
previous owner did a v good job on them.

^ Nice work, Gordon!
My dash isn't in your league, but to continue the "steering wheel is on the wrong side" pictures:

Description

Description
Dash panel is a piece of aluminium sheet, covered in CF-look vinyl, or as we say at Team Slotus, "Carbon FiSticker Construction."
Autometer gauges, with angle mounting cups to tilt them toward the driver, who probably won't look at them anyway.
Switches, L to R: Ignition, push Start, Fuel Pump, Water Pump, Rad Fan, "Extra." (That last might become a "fan for footbox"
Both pictures show that "glow" around the gear shift knob. Demonic possession, perhaps?
Regards-
JDK
[Edited on 9/1/13 by GonzoRacer]
Brilliant thread! Given me lots of ideas.
Well, this thread is where I got most of my ideas, so here's my addition:
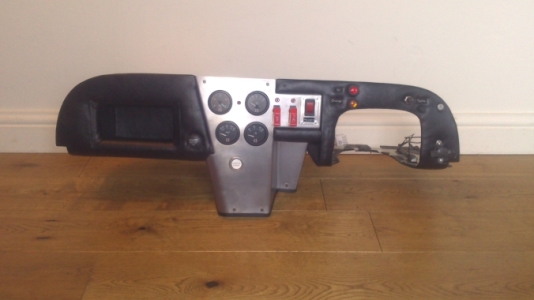
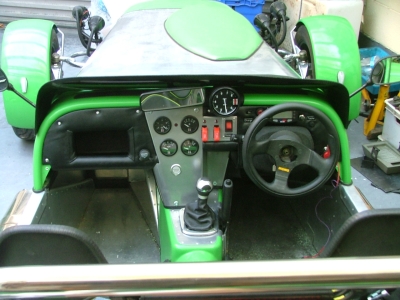
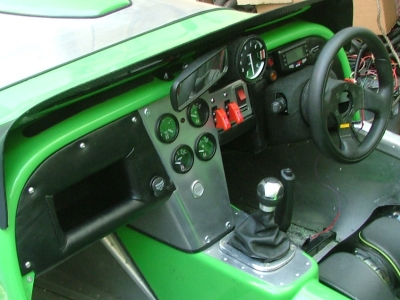
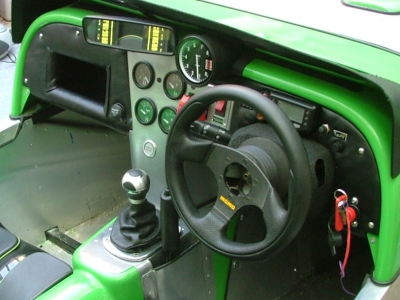
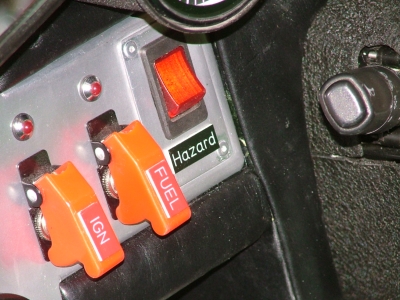
Made from 3 sections of 1.5mm ally. The outside 2 parts are covered with leather, the labels I had made at make-a-sign.co.uk
This is mine in my Indy

........Neil
This is my addition to the gallery.
Fury - not yet on the road. 



Instrument_Panel
this is mine... and yes, that is a radio, good for blasting music between traffic lights! also i've noticed that two cheap 20w speakers installed
in the right place on the transmission tunnel creates quite a noticeable reverb with the ally panels and they sound quite good!
This is mine - MDF base with plumbing pipe for the bottom edge radius, covered with felt backing and then faux leather. ETB gauges:

finished dash 1

finished dash 3

finished dash 2
After way too much time its pretty much finished- except I broke my temp gauge and need to get a new core(temp sensor tube broken). The insert sits
inside a frame made of 3/4 inch conduit on the bottom 3 pieces. Gauges are made in adobe and the tach and speedo are reverse sweep like the old
maserati of the 30s,40s I have added the family coat of arms to those gauges. The aluminum finish is done with an orbital sander with 80 grit and
coats of clear, I brushed it first but did not like it, so returned to this finish.
Dale

Description

Description
I was 70% happy with the first incarnation. Now, after spending far too much time over the winter, I am 90% happy.
Before and after photos.

Description

Description
Reverse panel

Description
Random shots

Description

Description

Description
Now that is a seriously neat job!
Quick update to mine now interior is almost finished.
[Edited on 1/4/14 by theduck]
Here is mine.
Aluminium with an IVA rolled edge covered in a synthetic veneer with an upside-down MX5 dash with new dials mounted into MDF and covered with leather
and foam where needed. LED tell tales and tell tale logos laser etched into the leather.
Cheers
Stot
The original - a flat ali sheet with a razor shart bottom edge !

The bare panel :
Looked nice to begin with but soon turned grey and grubby
And with some sticky-back-plastic :

... only later did I realise that I made a copy of a Cateringvan dash :
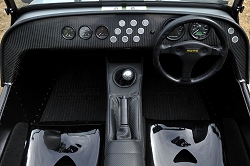
My new dash layout:

Pleased with how it came out, reasonably neat and the carbon fibre looks good. The dash shift lights are only used for alarms and lap time
information, the shift lights in the drivers eyeline are used for shift light functionality. Dash control buttons mounted on the wheel for easy
access.
An earlier version taken in better light, but with the BMW clocks still present:

[Edited on 9/9/14 by rodgling]
Our interior BEC flappy paddle gearshift
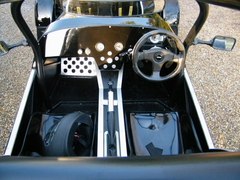

interior
[img]https://picasaweb.google.com/101709997702741930093/DiversSEVEN#5903463905235786610[/img]
[img] [/img]
Here's the dash ready to be bolted into the Dax
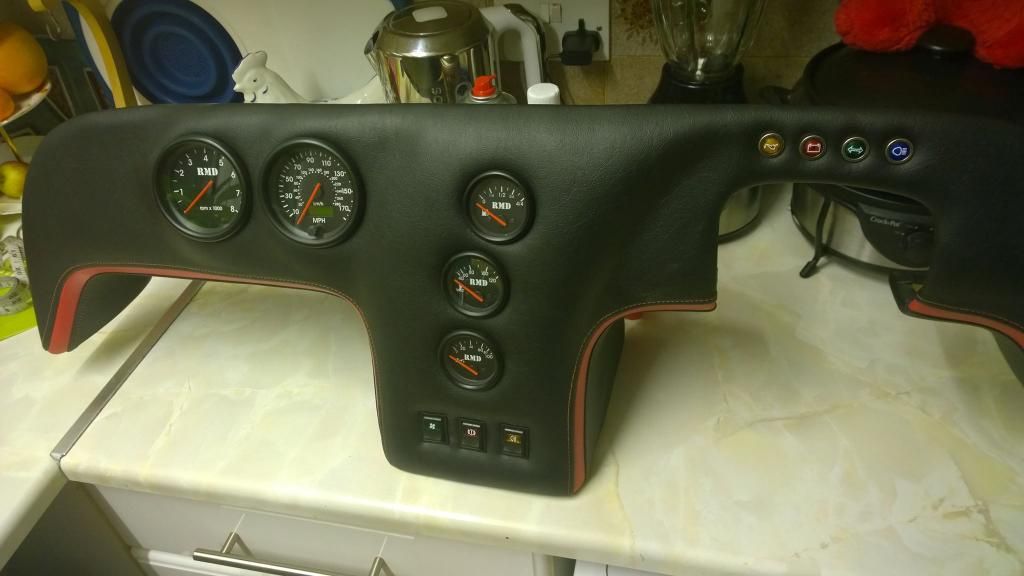
Here is a pic of how mine looks just now but I am in the throws of updating it.
A
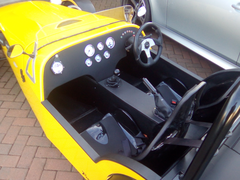

Das
MOT due ..3 years old already ! 
Dash looks a bit like spiders eyes ..
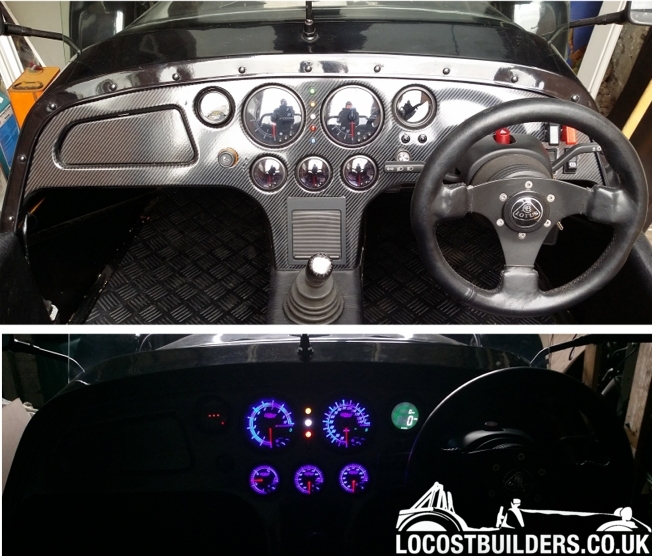
Gauges Linky
[Edited on 10/3/16 by johnemms]
Looks good. Is that a choke cable? What carbs are you running?
quote:
Originally posted by johnemms
MOT due ..3 years old already !
Dash looks a bit like spiders eyes ..

Gauges Linky
[Edited on 10/3/16 by johnemms]
Its a speedo & rev counter
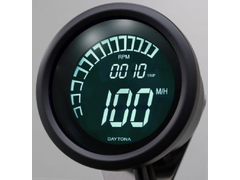

Description
Velona Link..
Glowshift Gauges
My main speedo does not have an odometer that records total mileage for mot/insurance etc.
Regular Type 9 electronic drive runs both speedos.
(can switch it off at night or if you do not want to record total mileage)
Drive at 40mph ..press set.. done.. easy peasy 
Programable RPM 0-20000 Min 10 rpm
Speedo 0-250 mph or km/h
DC 9-16v (12v regular)
Conect to OEM sensor
Stainlesss or Black 
[Edited on 29/3/16 by johnemms]
Here's mine on a Westfield Megabusa. Race Technology dash, Savage Switches and FIA cut off on a carbon dash. Pleased with it.
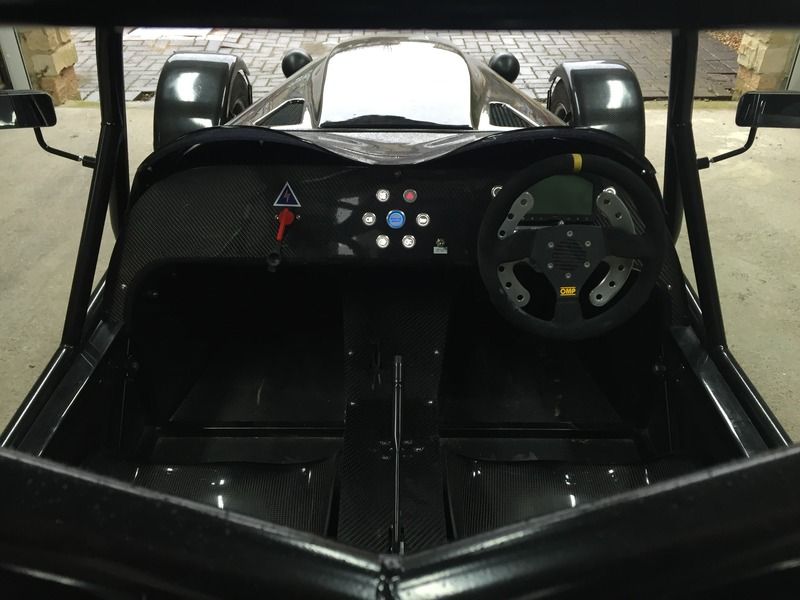
Great thread!

4 gauges (water, fuel, rpm, speed), a single side/dipped/main switch, 3 savage switches (hazard, start, fan), 2 indicator buttons on steering wheel,
and a Bright6 module for the warning lights. I like things minimal 
quote:
Originally posted by johnemms
Its a speedo & rev counter
Description
Velona Link..
Glowshift Gauges
My main speedo does not have an odometer that records total mileage for mot/insurance etc.
Regular Type 9 electronic drive runs both speedos.
(can switch it off at night or if you do not want to record total mileage)
Drive at 40mph ..press set.. done.. easy peasy
Programable RPM 0-20000 Min 10 rpm
Speedo 0-250 mph or km/h
DC 9-16v (12v regular)
Conect to OEM sensor
Stainlesss or Black
[Edited on 29/3/16 by johnemms]
Work in progress but it's getting there:
[img]
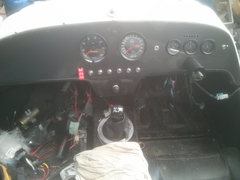

new dash test fit
[/img]
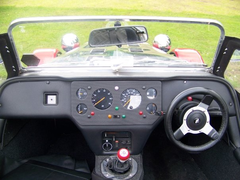
The OEM dials on my old Robin Hood

Description
Great thread, just looking through for inspiration as I cut out the sheet for what will become my dash panel. I had planned bare aluminium, now wondering if it will be too reflective as commented elsewhere on this thread.
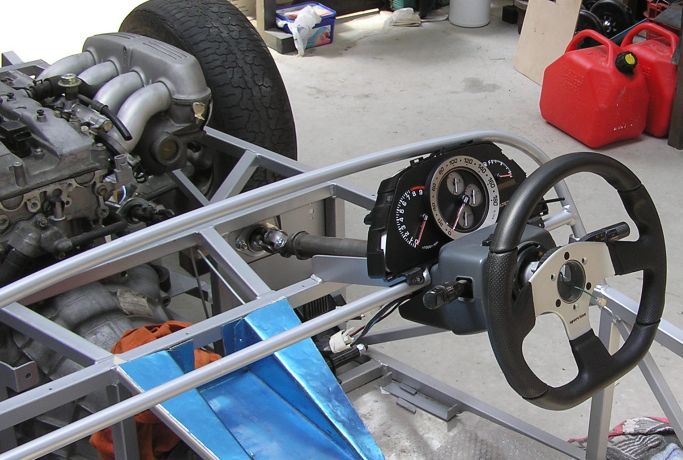
Here is a picture of me and my dads mockup dash in our kit car build housing a Honda S2000 AP1 dash, just doing my research on how to install some
2011 Caterham Superlight 'Rage' switches #migraine 

[Edited on 18/4/20 by sammini7]
[Edited on 18/4/20 by sammini7]
This thread is great, some great work on show 
Here's my first dash mock-up. Currently in lightweight laminated cellulose board, soon to be in matt black plywood.
Any thoughts from anyone with their car on the road? I know lots have gone for the centre speedo, but is it annoying in practice?
I also wondered if anyone has up-to-date info on whether using instrument lights as a "lights on" warning is OK instead of an actual warning
light (got the main beam one built into the speedo).
Cheers,
Stu
 Dash
with wheel by Stuart Walker, on Flickr
[Edited on 18/10/20 by Stuart Walker]
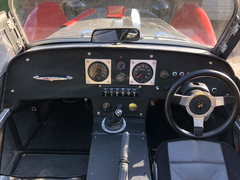
Here's my dash after its lockdown revamp!

Description
Heres my Raw Striker Dash with ETB instruments.
?????
Well that didnt go as planned
how do i post my pics on here then??
quote:
Originally posted by simon04
Well that didnt go as planned
how do i post my pics on here then??
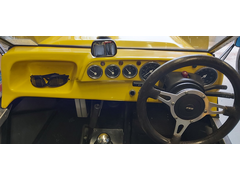

Still a lot to do but the instrument panel is essentially complete...
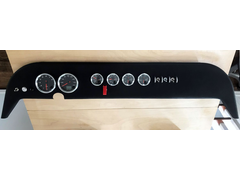

Description
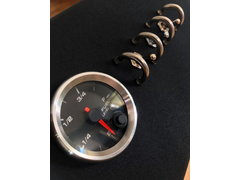

Description
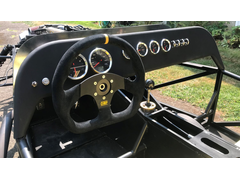

Description
That's looking great Ron! Have you flocked that dash or used a different material?
quote:
Originally posted by DavSki153
That's looking great Ron! Have you flocked that dash or used a different material?